New feature: Smart Folders
tl;dr
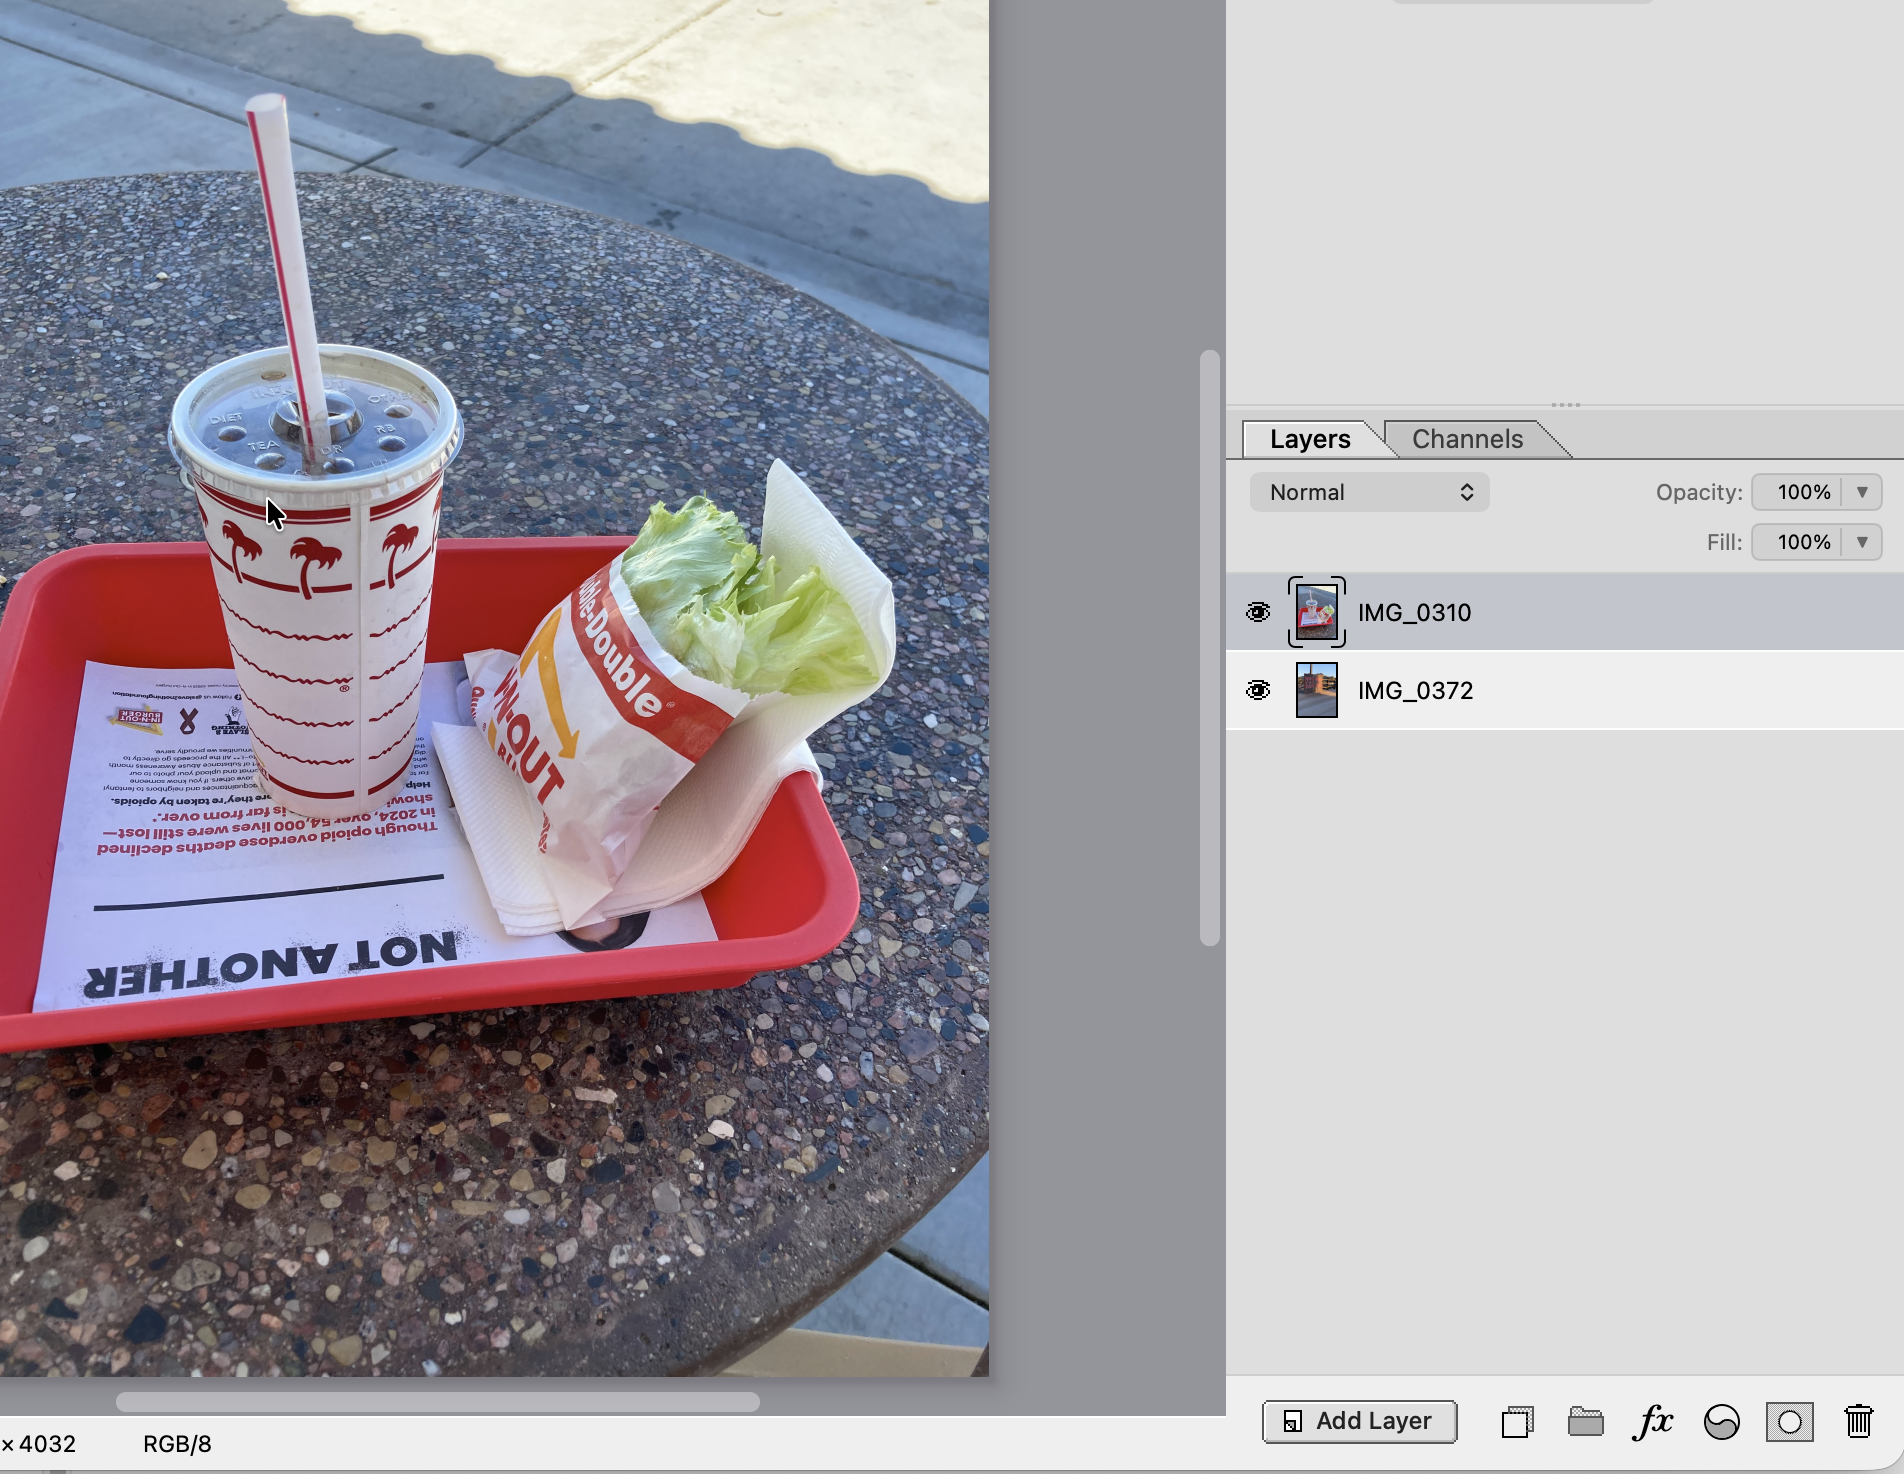
Today I'm announcing the launch of "Smart Folders" in Mojave Paint 1.9.0. They're a lot like Smart Objects, except instead of hopping into a separate document to view and edit the contents, it's all just inline. And when you drill down into one, the camera transforms to "square up" the view so you can see and edit the pixels at 1:1 scale.
Background
Different apps handle non-destructive transforms on pixel layers differently:
Affinity just always does non-destructive. But this means if you scale an image down 2x, each pixel has 4 pixels hidden behind it that you can never see no matter how far you zoom in. And if you paint on it there and zoom back out again, you'll see your brush stroke is all pixelated.
Krita does something different with Transform Masks, avoiding this mismatch between the resolution of the painting tools and the object's native resolution, but it does so in the weirdest way by letting you paint in pre-transformed space and showing the results in post-transformed space. Now the paint dabs are offset and scaled from where you dragged.
Photoshop, despite being so old, clearly has the best solution. Jump into a Smart Object and it opens as a separate document at its own identity transform, avoiding all the issues above. But it's a hassle to jump in and out of those documents, and to manage their canvas size as you add and remove elements.
Mojave Paint's "Smart Folders" are very much like Photoshop's "Smart Objects" except the contents are shown as part of the same tree, no jumping into other documents needed. When you select a layer inside a Smart Folder, the camera view transforms to focus on that Smart Folder and the rest of the document is shown behind with the inverse of that transform. And it's done with a pretty nifty animation effect you'll have to experience for yourself.
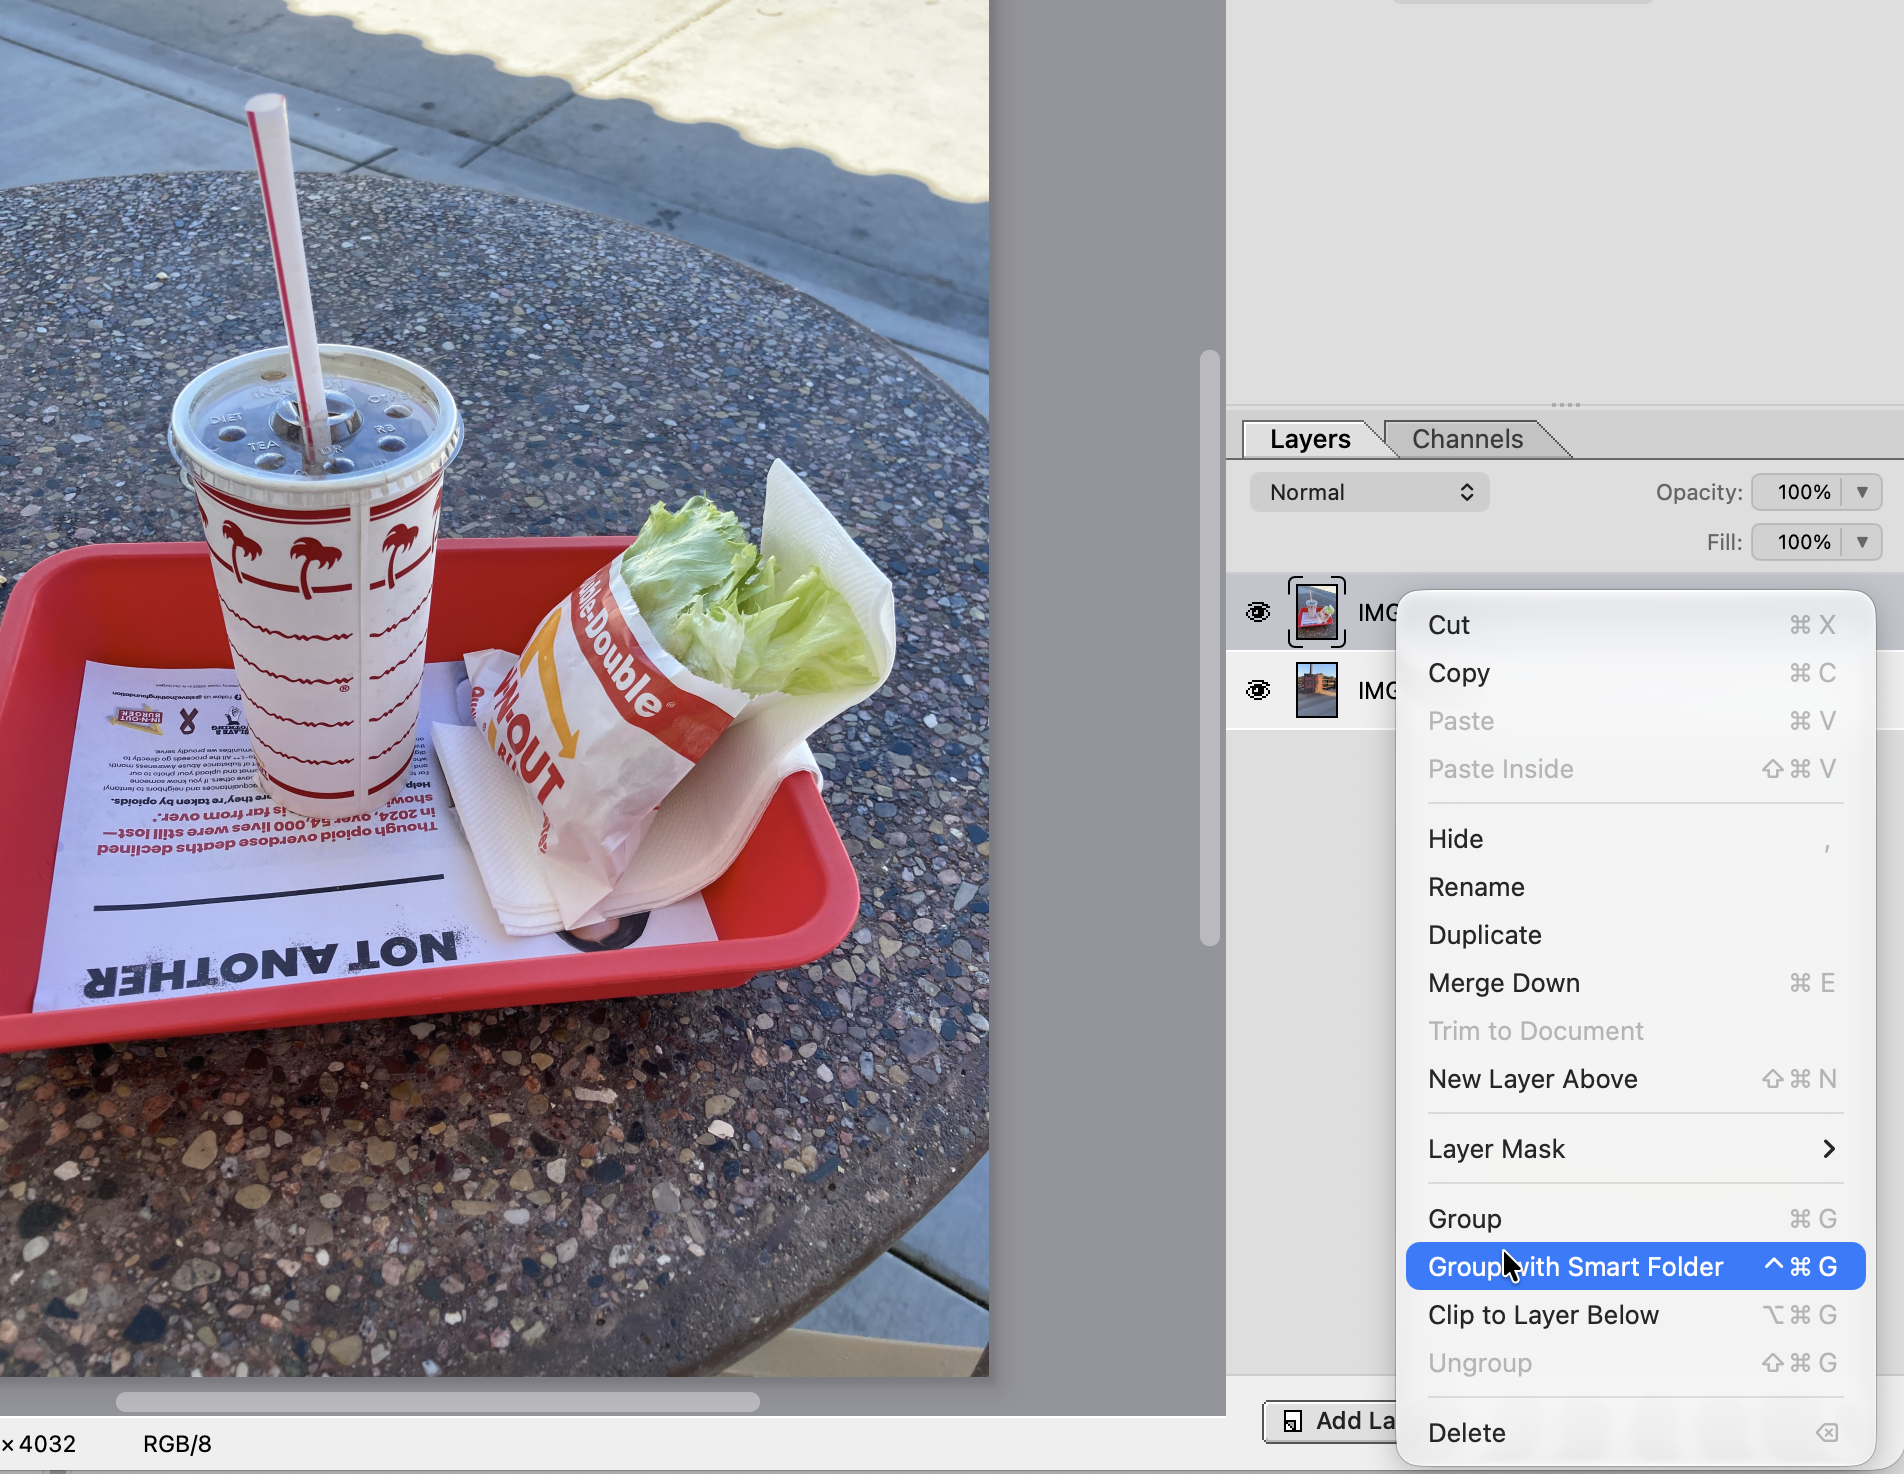
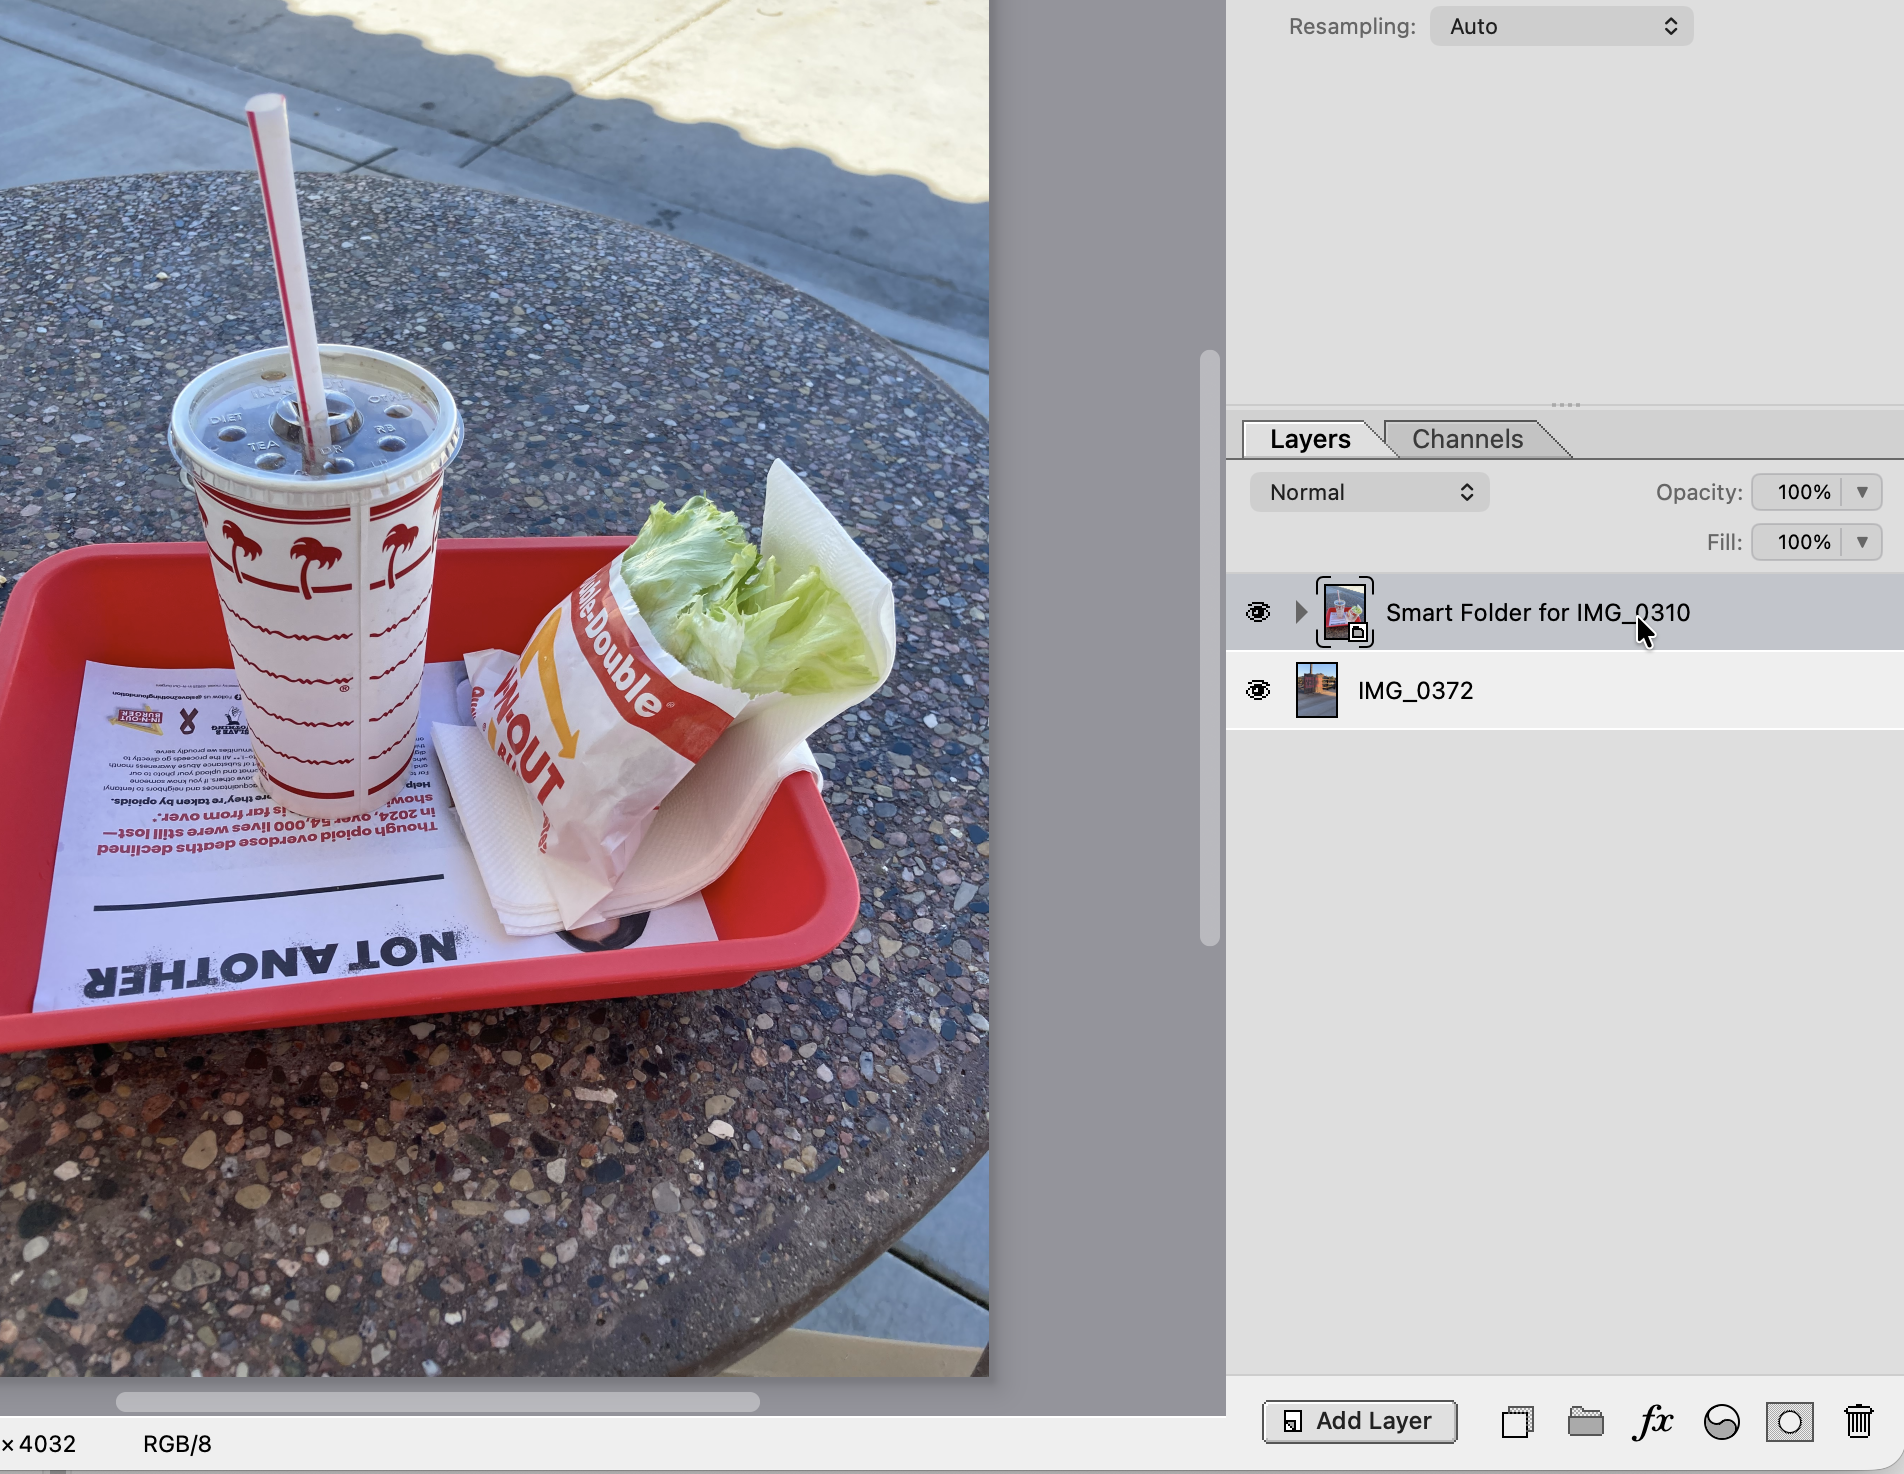
I don't want to put a video because you do have to see this first hand, but here's a static image sequence to give you an idea. Page through with the arrow keys.
But didn't this raise a whole lot of technical and design questions?
It sure did! How do you deal with shallowly-cloned Smart Folders that share their contents with another Smart Folder? How do you deal with the fact that, with no actual document inside there's no explicit canvas size inside? What do you do with rulers and guides? What happens if you try to use the Crop tool? These and many other things had to be ironed out to make this work.
But in the end I'm very happy with the result. For the common case of a single pixel layer that you want to resize without degradation, you can use "Group with Smart Folder" pretty much identically to how you'd use "Convert to Smart Object".
And unlike Adobe which (almost sadistically given how often it's used) doesn't give you a keyboard shortcut for "Convert to Smart Object", we give you one for our analogous operation — Control+Command+G. Control isn't the preferred modifier to use on a Mac but there is some precedent for using it when you've simply run out of modifiers, e.g. "Re-do last filter" being on Control+Command+F.
But anyway, this is just a teaser announcement not the full documentation. I'll be working on a full set of docs for Mojave Paint in the coming weeks and months.
https://mojavepaint.app/blog/smart-folders
#smartfolders #smartobjects #object #paint #mojavepaint #convert
#rss #feeds #linksharing #qwibbit
Five (more) things Mojave Paint does better than Photoshop
Well this is more like 25 of them. Sorry in advance for the long post.
Now that people are out there cloning Photoshop it's become even more important for me to explain how Mojave Paint is different (and in many ways better) than Adobe's finest. Let me outline the points first (in three groups) then go into detail below.
Substantive things I'd be exited to tell you about in an elevator
Gradients have a "grain" interpolation mode
Ctrl+Tab support
Clear blend mode is available everywhere
Recent document multi-select
Better clipping masks
Crop tool mouse wheel support in a locked viewport
Extrude option in Drop Shadow layer style
Much better halftone filter
Repeating last filter with Control+Command+F is interactive
Tap shift to cycle the current tool in its slot
Keyboard shortcut to hide/show transform controls with the Move tool
Generally non-blocking UI (this one is repeated from the previous blog post)
Straightforward usability or graphical enhancements
Duplicate layer button
Edge handles stretch instead of scale
The advanced fill window has a Preview checkbox
Brush defaults to Normal Linear blend mode
You can easily make a selection from a layer's luminance
Keyboard shortcut to expand/collapse the selected folder
Double-click the label on layer Opacity or Fill to flip it between 100% and 0%
On a Type layer, selecting none is the same as selecting all
Hyper-trivial and/or obscure
Shift+Option+Square Bracket in opposite direction shrinks instead of growing the other way
Command+J duplicate with multiple disparate layers puts the copies by each group
Smoother scrubbing on type kerning
Single-click to edit a layer style
YIQ mode for hue/saturation adjustment
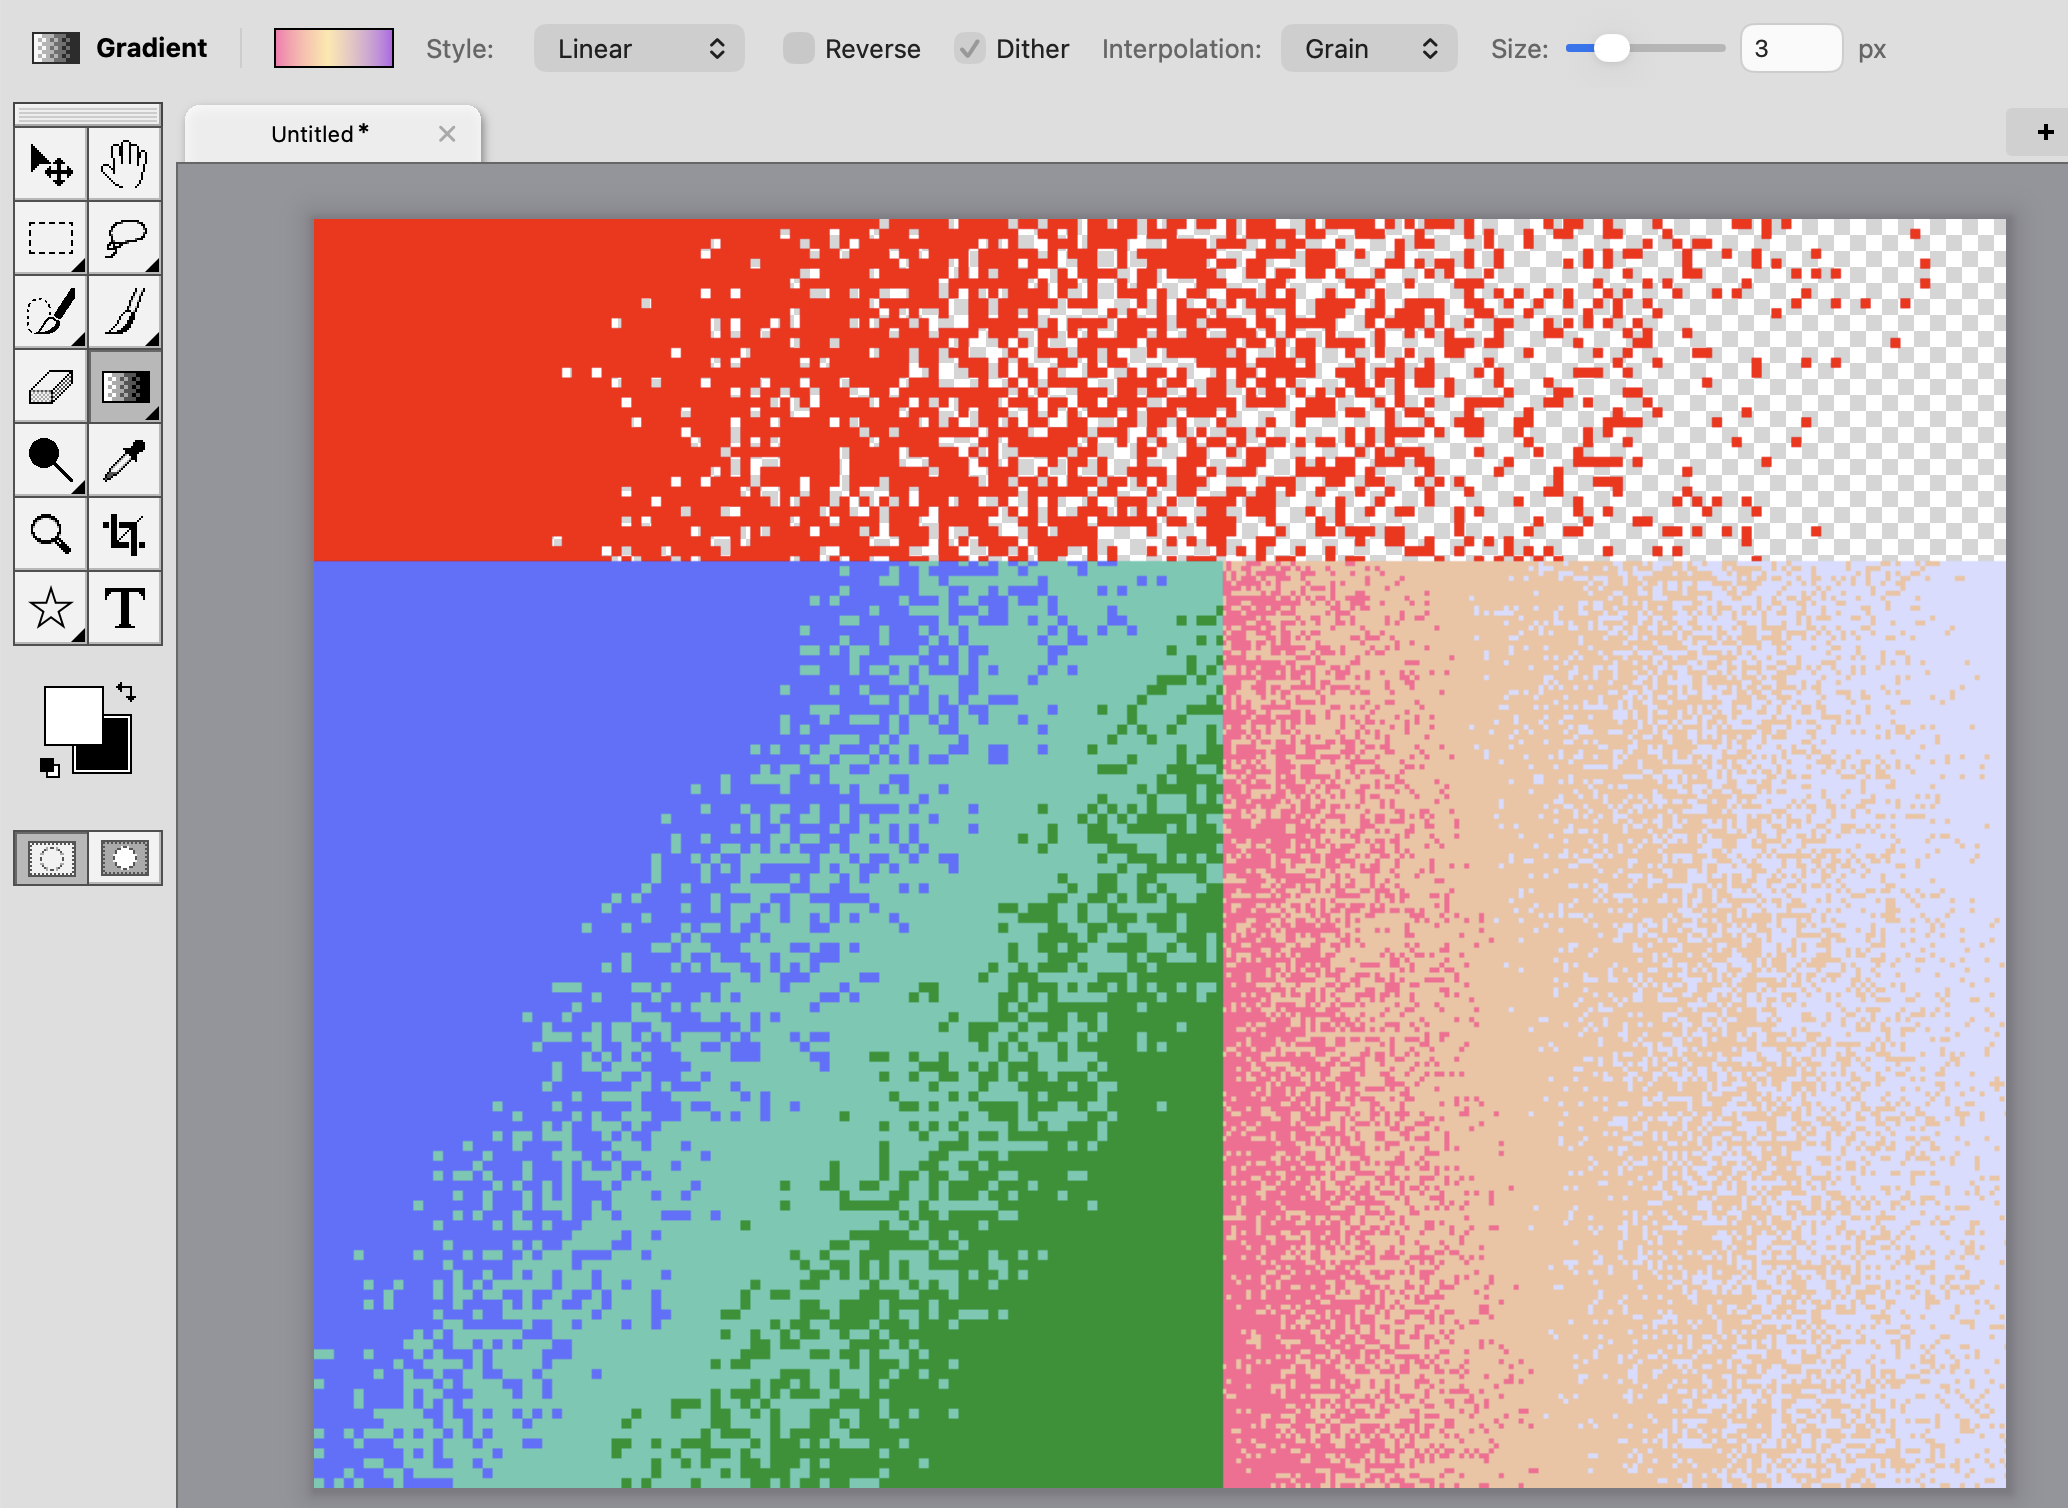
Gradients have a "grain" interpolation mode
It's not a real interpolation mode of course, because it's not actually mixing colors together — it's picking between two color stops for each speck of grain in a probabilisitic fashion. But I threw it in with the interpolation modes for convenience.
Whatever you call it, it's pretty cool and makes some novel looking gradients. It even works with opacity stops, so you can have a "red to red" gradient that fades out with a transparent speckle, for example.
Ctrl+Tab support
Strong opinion alert: Ctrl+Tab should always open the most recent tab, not the tab to the right. Because moving back and forth between a small set of documents is a very common operation. IDEs do this, Firefox does this, and Mojave Paint does this too.
More specifically, Ctrl+Tab should step backwards through the recent tab history, one step per Tab, putting whatever tab you land on at the top of the history (but not the tabs you saw along the way.)
Clear blend mode is available everywhere
You may have noticed that the Brush tool (in Photoshop and in Mojave Paint) has a Clear blend mode, accessible in the dropdown or by holding the backtick (`) key. In Photoshop that's only available in the brush tool while in Mojave Paint you can use it everywhere. Why would you want to?
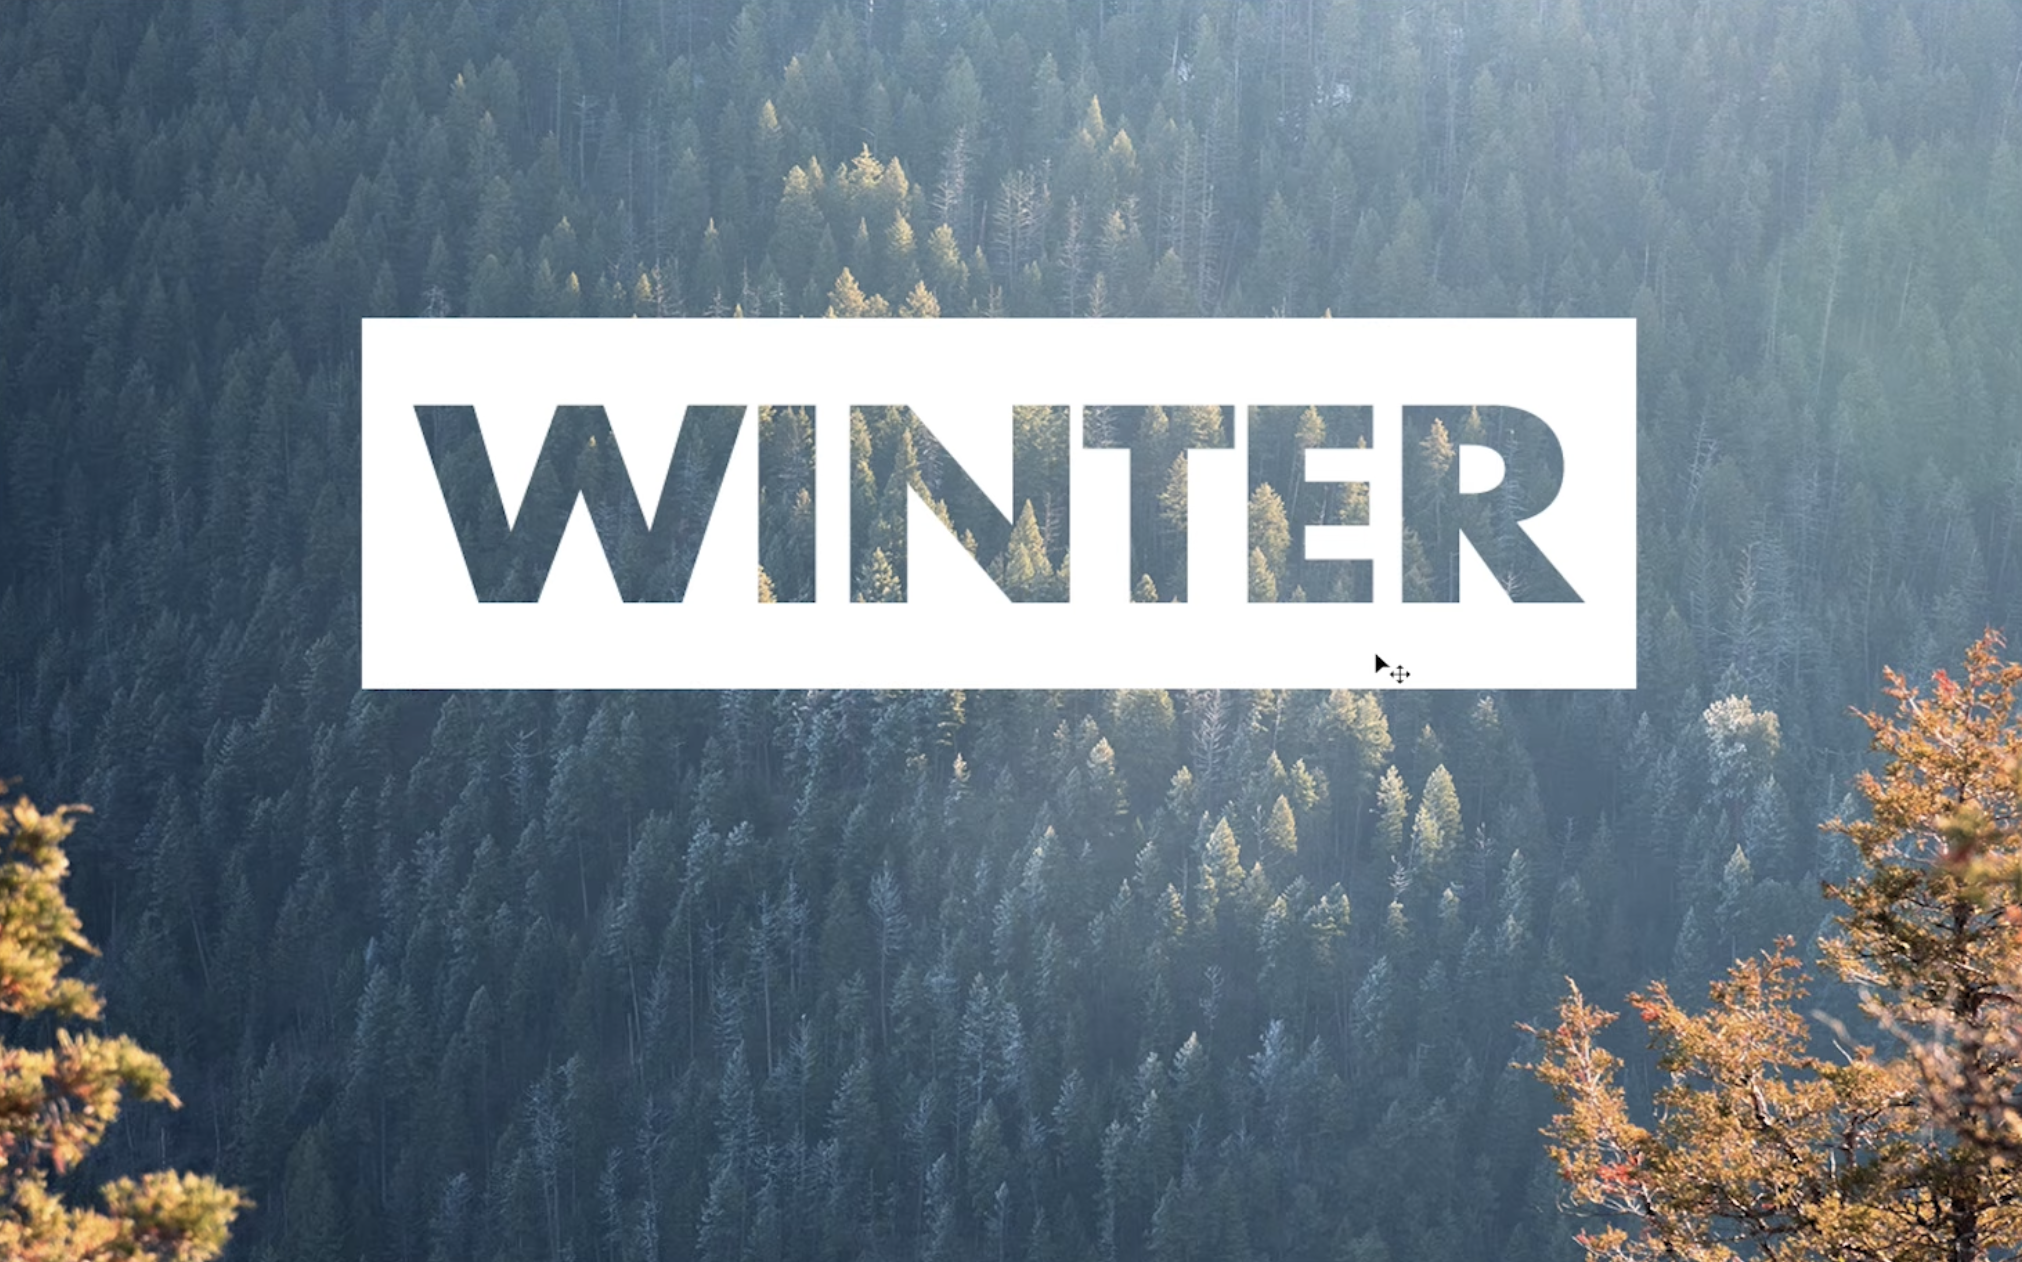
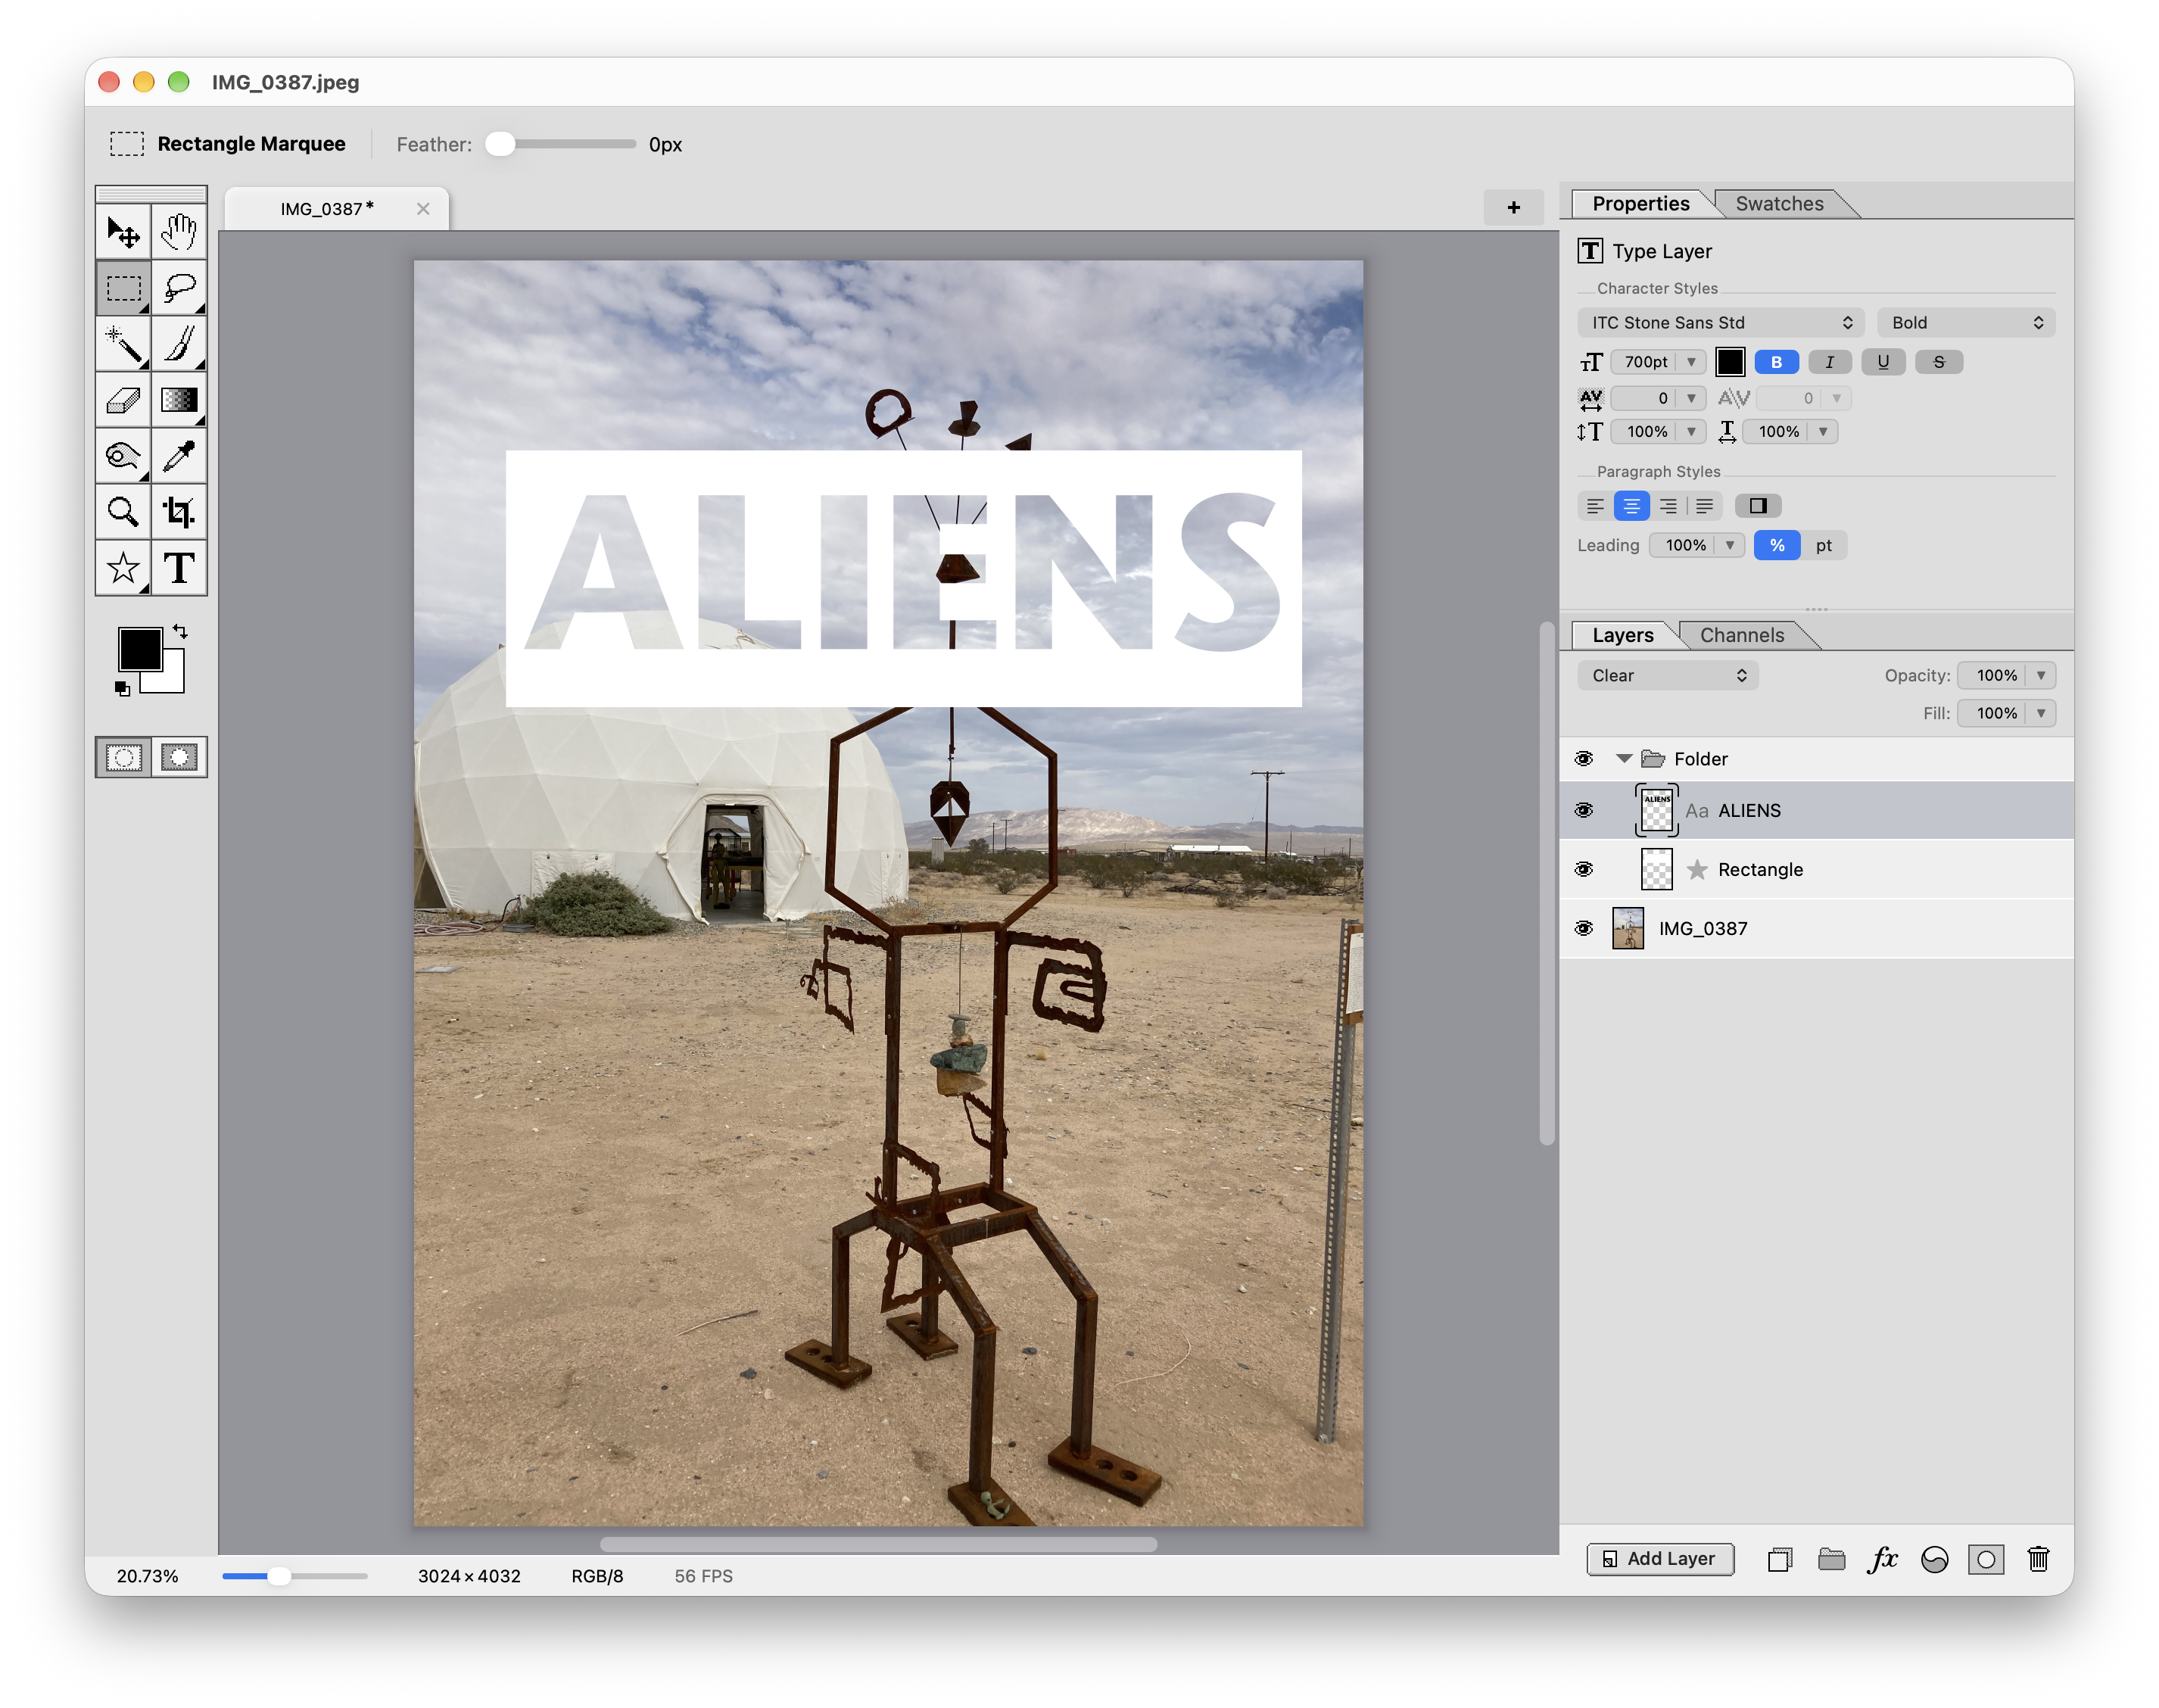
Check out this YouTube demo. He's has a white rectangle with a text shape cut out of it, that's overlaying a photograph. He makes the type layer and selects its outline by Command-clicking it, then adds a layer mask to the rectangle using that selection. This does work but the type is no longer editable in that scenario.
In Mojave Paint you'd just put the rectangle and the type layer in a folder, with the type on top, and set its blend mode to "Clear" so it cuts a hole in everything below it. Easy peasy and the type remains editable.
(It helps that our folders default to Normal blend mode instead of Pass Through like Photoshop's do, but that's another topic.)
Recent document multi-select
The "Open File" dialog allows multi-selection of course, but so does the Recent Documents view on the welcome screen. Command-click or drag a rectangle over them to select multiple documents, then click any in the set to open them all.
Better clipping masks
Mojave Paint has a really sweet clipping mask solution, taking some of the best ideas of Photoshop and Affinity Photo but I think it's more powerful than either one.
See the full blog post on this topic.
Crop tool mouse wheel support in a locked viewport
On the surface, Mojave Paint's crop tool looks like any other app's crop tool. Drag a rectangle to define your crop area and hit Enter to apply.
But there's actually a lot more going on in there. Try this: activate the crop tool, and notice the viewport pan and zoom are locked (managed for you.) This is for two reasons: so we can zoom out to fit the entire document when you rotate, and so we free up the scroll gestures (mouse wheel normally if you're on a desktop) for other functions.
Now try the mouse wheel, notice it grows and shrinks the crop area while maintaining the aspect ratio. Now try shift + mouse wheel and notice it rotates. Now for maximum affect, turn off the "rule of thirds" grid lines and change the mask color to black.
Using the tool in this way, which I'd call "artistic reframing mode," you can really visualize how your crop will look. Here's a demo:
Extrude option in Drop Shadow layer style
You can approximate this in Photoshop by adding like 20 different drop shadows but in Mojave Paint you get real "long shadow" styles with a single checkbox.
Much better halftone filter
The Halftone Pattern filter in Photoshop's Filter Gallery is surprisingly crude and difficult to use, and Mojave Paint tops it by a mile. Frustrations include:
It pre-populates with the current foreground and background colors, but because Photoshop's UI is all so annoyingly modal, you can't change the colors while the window is open. There's apparently no way to change the angle of the dot screen or the lines. There's a contrast slider but rather than affecting the tonality, i.e. making the Euclidean dots more filled in or less filled in, it seems to be doing a blend with the background which is hardly useful to anybody. And there seems to be no way to make the background or foreground color transparent, as you'd want to represent only the "ink" part of the halftone (letting the layer behind be the "paper.")
Mojave Paint does all this and more. This deserves its own blog post for sure.
Repeating last filter with Control+Command+F is interactive
I really like how Photoshop has a Control+Command+F shortcut and a menu item (first item in the Filter menu) to repeat your last filter operation. But I don't like how it runs silently with no chance to see or review what the options were set to.
Mojave Paint uses the same command but it re-opens the last used filter, pre-populated with the last used options. Just press OK or hit Enter to apply the same as before, or adjust them and apply, but at least you can see what's going on.
Tap shift to cycle the current tool in its slot
In Photoshop, as in Mojave Paint, the tools are grouped together into tool slots. M for example holds the Marquee tools of "rectangle marquee" and "ellipse marquee." Pressing M goes to the last used tool in that slot, and to cycle through them you either double-tap M, or you do Shift+M. Same for other slots, like W has the Wand tool and other selection tools.
But sometimes you want to cycle the tool without thinking about what current shortcut is. You're on Dodge and you want Burn, or vice versa? In Mojave Paint just tap Shift and it cycles whichever tool slot you're in. No thinking needed! That should be our motto.
Keyboard shortcut to hide/show transform controls with the Move tool
When using the Move tool, especially with small shapes, those transform handles can get in the way, so it's important to have an easy way to hide them. Easier then checking and unchecking "Show Transform Controls" constantly.
In Mojave Paint, just hold the Backtick key. This is one of those nice little details I hope Adobe borrows from Mojave Paint. Read more about this in the 1.8.1 feature highlight post.
Generally non-blocking UI
This is a repeat from my first "vs Photoshop" post, where I talk about how you can refine a selection while the adjustment and filter windows are active. But there's other reasons why this matters.
In Photoshop, say you have duplicate layers and you open an adjustment window but it's not doing anything. Oops, you accidentally had the bottom layer selected (covered by the duplicate). You go to hide the layer above but you can't because you literally can't do anything else when an accessory window is open. Mojave Paint does better.
Or another example, in Mojave Paint you can open the color picker and just leave it open, like Bob Ross dipping back into his palette. (Admittedly this use case would probably be better served by an inline color picker, maybe in the current Swatches panel, and that's probably coming, but still.)
Duplicate layer button
It's a common operation, it deserves a button.
Edge handles stretch instead of scale
Dragging a corner and having it scale proportionally feels right. But dragging an edge, intuitively, one expects that to stretch. Having it also scale proportionally but centered on that one axis just feels weird. Of course both corners and edges can do the opposite of their respective defaults by holding Shift.
The advanced fill window has a Preview checkbox
Krishna was showing me how he sometimes paints by drawing shapes with the lasso and filling them in. Having a Preview checkbox allows one to see the color before applying, even dragging on the color picker with continuous updates. And, since it behaves like any other adjustment or filter, you even get the "Hide Ants" feature in the title bar so you can see your shape applied cleanly.
Brush defaults to Normal Linear blend mode
See the Normal Linear Blend Mode blog post
You can easily make a selection from a layer's luminance
Just use Select > Luminosity. There are ways to do this in Photoshop but none are this straightforward.
Keyboard shortcut to expand/collapse the selected folder
Option + Square Bracket navigates the layer selection up or down, so it's only natural to also have a shortcut to expand and contract folders. I chose Option + Backslash because it's right next to that other command (at least on US keyboards.)
Double-click the label on layer Opacity or Fill to flip it between 100% and 0%
See the 1.8.1 feature highlights.
On a Type layer, selecting none is the same as selecting all
In most text editing systems, placing the cursor and changing the formatting options "preloads" that formatting change for the next thing you type. To change the formatting of something you've already typed you have to select it first.
Mojave Paint behaves differently, treating no selection the same as "everything selected." This means you can type some text leaving the cursor at the end and change the formatting to apply it to the whole layer. No need to do a Select All and as a side benefit you can see your style updates unobscured by the text selection style.
Shift+Option+Square Bracket in opposite direction shrinks instead of growing the other way
In Photoshop, Shift + Option + Square Bracket grows the layer selection up or down, but doing the opposite doesn't shrink it as you'd expect (and how the Finder works with Shift + up/down arrow).
Command+J duplicate with multiple disparate layers puts the copies by each group
In Mojave Paint, if you Duplicate a set of non-contiguous layers, the copies are grouped together above each "island" in the selection, like a "unified diff" view in source control. Photoshop seems to just clump all the duplicates together on top, ignoring the gaps.
Smoother scrubbing on type kerning
When you're kerning letter pairs in big display type, you'd generally do it by eyeballing it. And the best way to do that is scrubbing the label. But Photoshop moves in chunky 10 degree increments, making it hard to get the kerning looking exactly optically perfect. In Mojave Paint you get 1 degree increments. (I say "degree" but really it's a 1000th of an em.)
Single-click to edit a layer style
One Mojave Paint design principle is "be lazy" and you'll find many examples of this throughout the app (for example you can simply press Escape to clear the selection in addition to the Photoshop way of Command+D), and here's one more example of that: A single click on a layer style row opens the style window. Double-click if you want the finger exercise but a single click will do.
YIQ mode for hue/saturation adjustment
This lets you change hue without making huge brightness changes. Also, if you have a soft brush stroke in one saturated color on top of another saturated color, shifting the hue in traditional HSL mode can give it a weird halo effect that YIQ mode avoids. My recommendation is just to try them both and see what looks best, always nice to have more options.
I'm not an expert level Photoshop user so feel free to send corrections if I unfairly judged on any of these points. Big things are coming soon in Mojave Paint, my answer to Smart Objects, stay tuned for that!
https://mojavepaint.app/blog/five-more-photoshop
#mojavepaint #tab #ctrl #command #squarebracket #dropshadow
#rss #feeds #linksharing #qwibbit
#mojavepaint
#tab
#ctrl
#command
#squarebracket
Mojave Paint (Unofficial)6d
FAQ: Is Mojave Paint good for painting and drawing?
When I was at Amazon and at Google I remember having to request a copy of Photoshop through their internal software portals. Because, when I wanted to manhandle a bitmap with authority and precision, Photoshop was the gold standard. A "photo editor" is vague and artistic while Photoshop is precise and scientific in dealing with the pixels.
That's the feel I'm going for in Mojave Paint. As a developer, this utility use case is the one I know best and it was my highest initial priority. Building an image editor for nerds and coders.
But, tools like Photoshop and GIMP are really jack of all trades image editors. They might be used by scientists looking at microscope scans, or by real estate photographers, or by graphic designers, or even by artists.
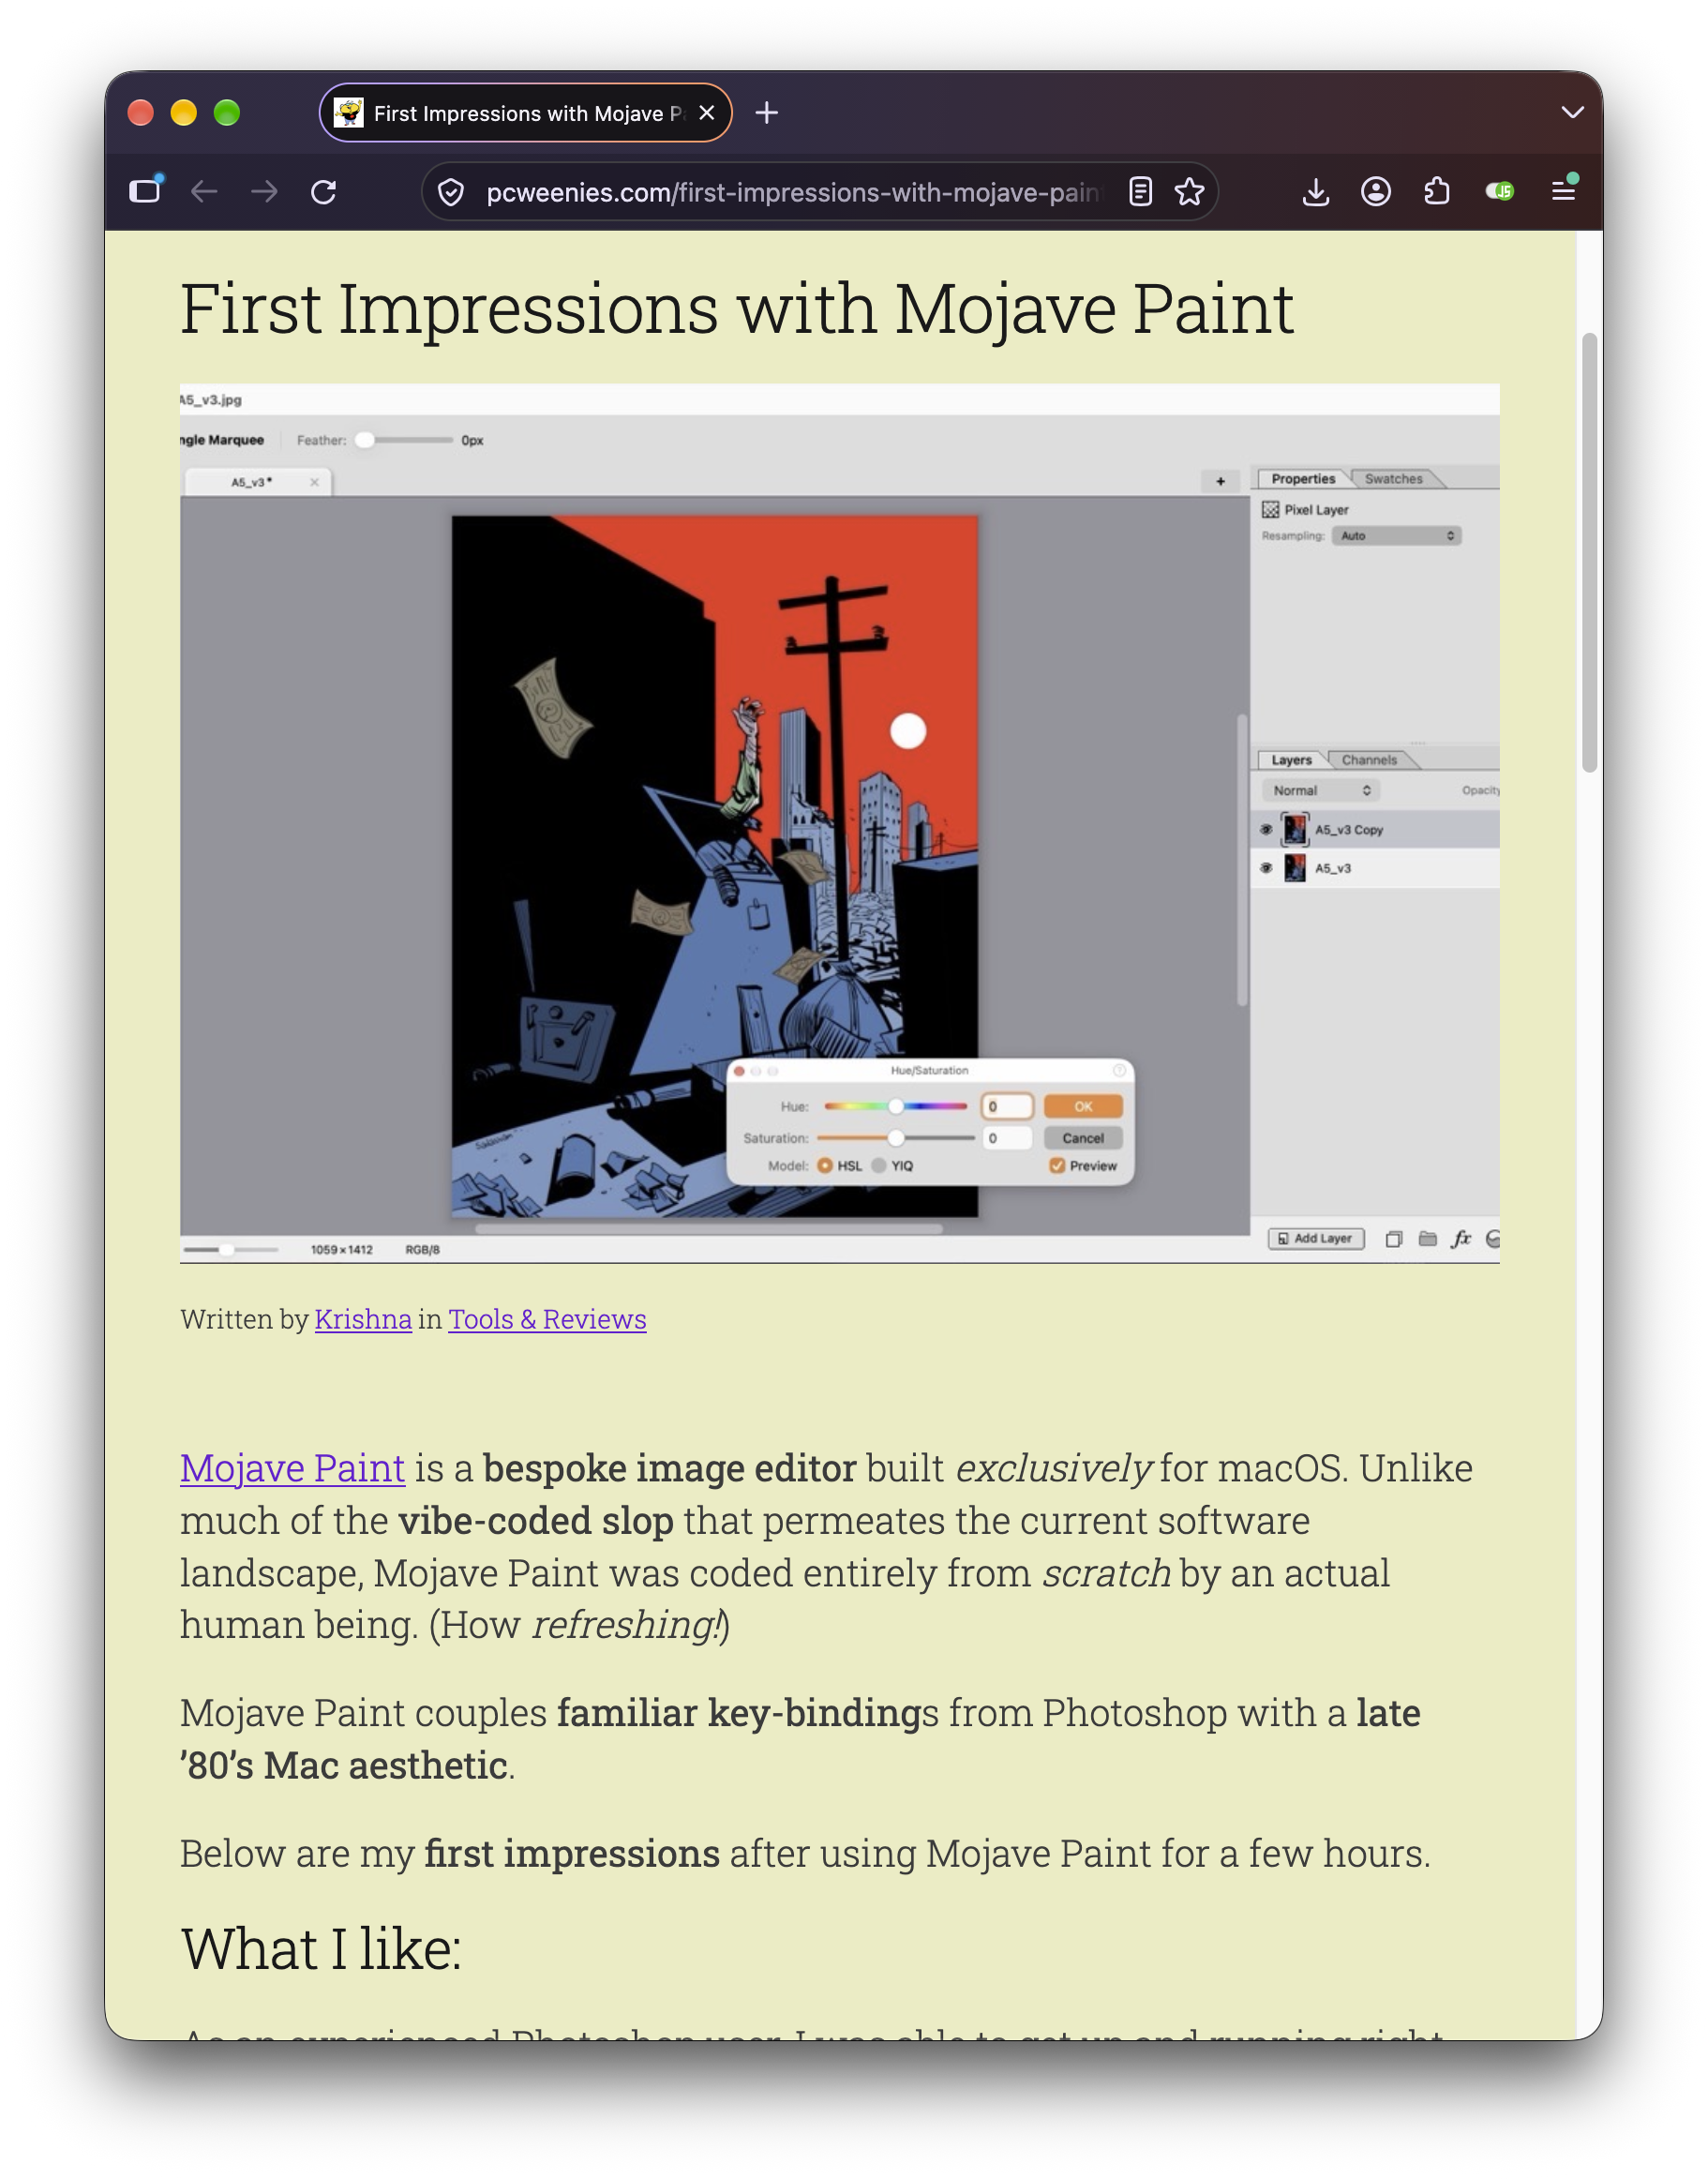
This last use case — hooking up a Wacom tablet and drawing some art — is one I had kind of written off. I assumed people use dedicated bitmap illustration programs rather than Photoshop for this, but then I saw Krishna's review of Mojave Paint:
First Impressions with Mojave Paint
and learned that, yes, people do in fact make art with Photoshop these days.
Krishna pointed out that with just a couple of additions Mojave Paint could be a pretty kick-ass illustration program (my words not his). So I went ahead and beefed up the illustration story in Mojave Paint, including:
Added stylus pressure settings on the brush
Turned off mouse event coalescing so every position update is processed (as many as 200 per second on a Wacom tablet). Making smoother lines.
Filled some other random Photoshop gaps like "hold Option with the brush tool to sample color" and "use Shift+Option+Backspace" to fill a selection with foreground color using Preserve Transparency.
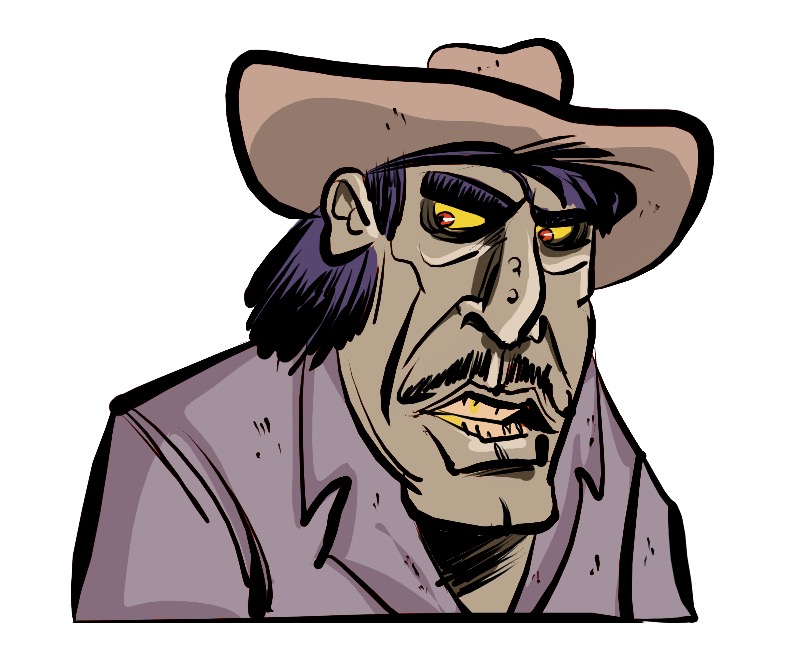
And here's a drawing he whipped up:
https://mastodon.social/@krishnadraws/117497712211232320
So to answer the FAQ question — yes Mojave Paint is good for illustration, with the caveat that there is no custom brush support yet. Krishna notes that the learning curve is very gentle for Photoshop users, and that the selection tools such as freehand lasso feel nice and responsive to use.
And, the 1.8.3 release adds a first pass at Layered TIFF support. This means you can export layered TIFF files from Photoshop and open them in Mojave Paint with the layers and folders intact, with layer metadata coming across too (opacity, blend mode, layer mask, etc). And vice versa, export from Mojave Paint (Shift+Command+E) and choose "Layered TIFF" and this opens in Photoshop pretty much like a PSD file would. [Currently only doing pixel layers though, no support yet for shape and text layers.]
So I think that's it. Give 1.8.3 a try and look for the stylus icon in the Brush tool options bar.
https://mojavepaint.app/blog/faq-mojave-for-painting
#mojavepaint #photoshop #faq #layeredtiff #brush #drawing #krishna #shift #option #first
#rss #feeds #linksharing #qwibbit
#mojavepaint
#photoshop
#faq
#layeredtiff
#brush
Mojave Paint (Unofficial)8d
I'm on Mastadon now
Until I get a Discourse forum set up, seems like a pretty good place for questions and requests.
https://mastodon.social/@mojavepaint
https://mojavepaint.app/blog/mastadon-signup
#rss #feeds #linksharing #qwibbit
#rss
#feeds
#linksharing
#qwibbit
Mojave Paint (Unofficial)10d
In the press: Mac Generation
Sometimes people write about Mojave Paint and the only way I know is looking through my referrer logs. Here's one from a French tech blog focused on Apple products, from back on July 10th:
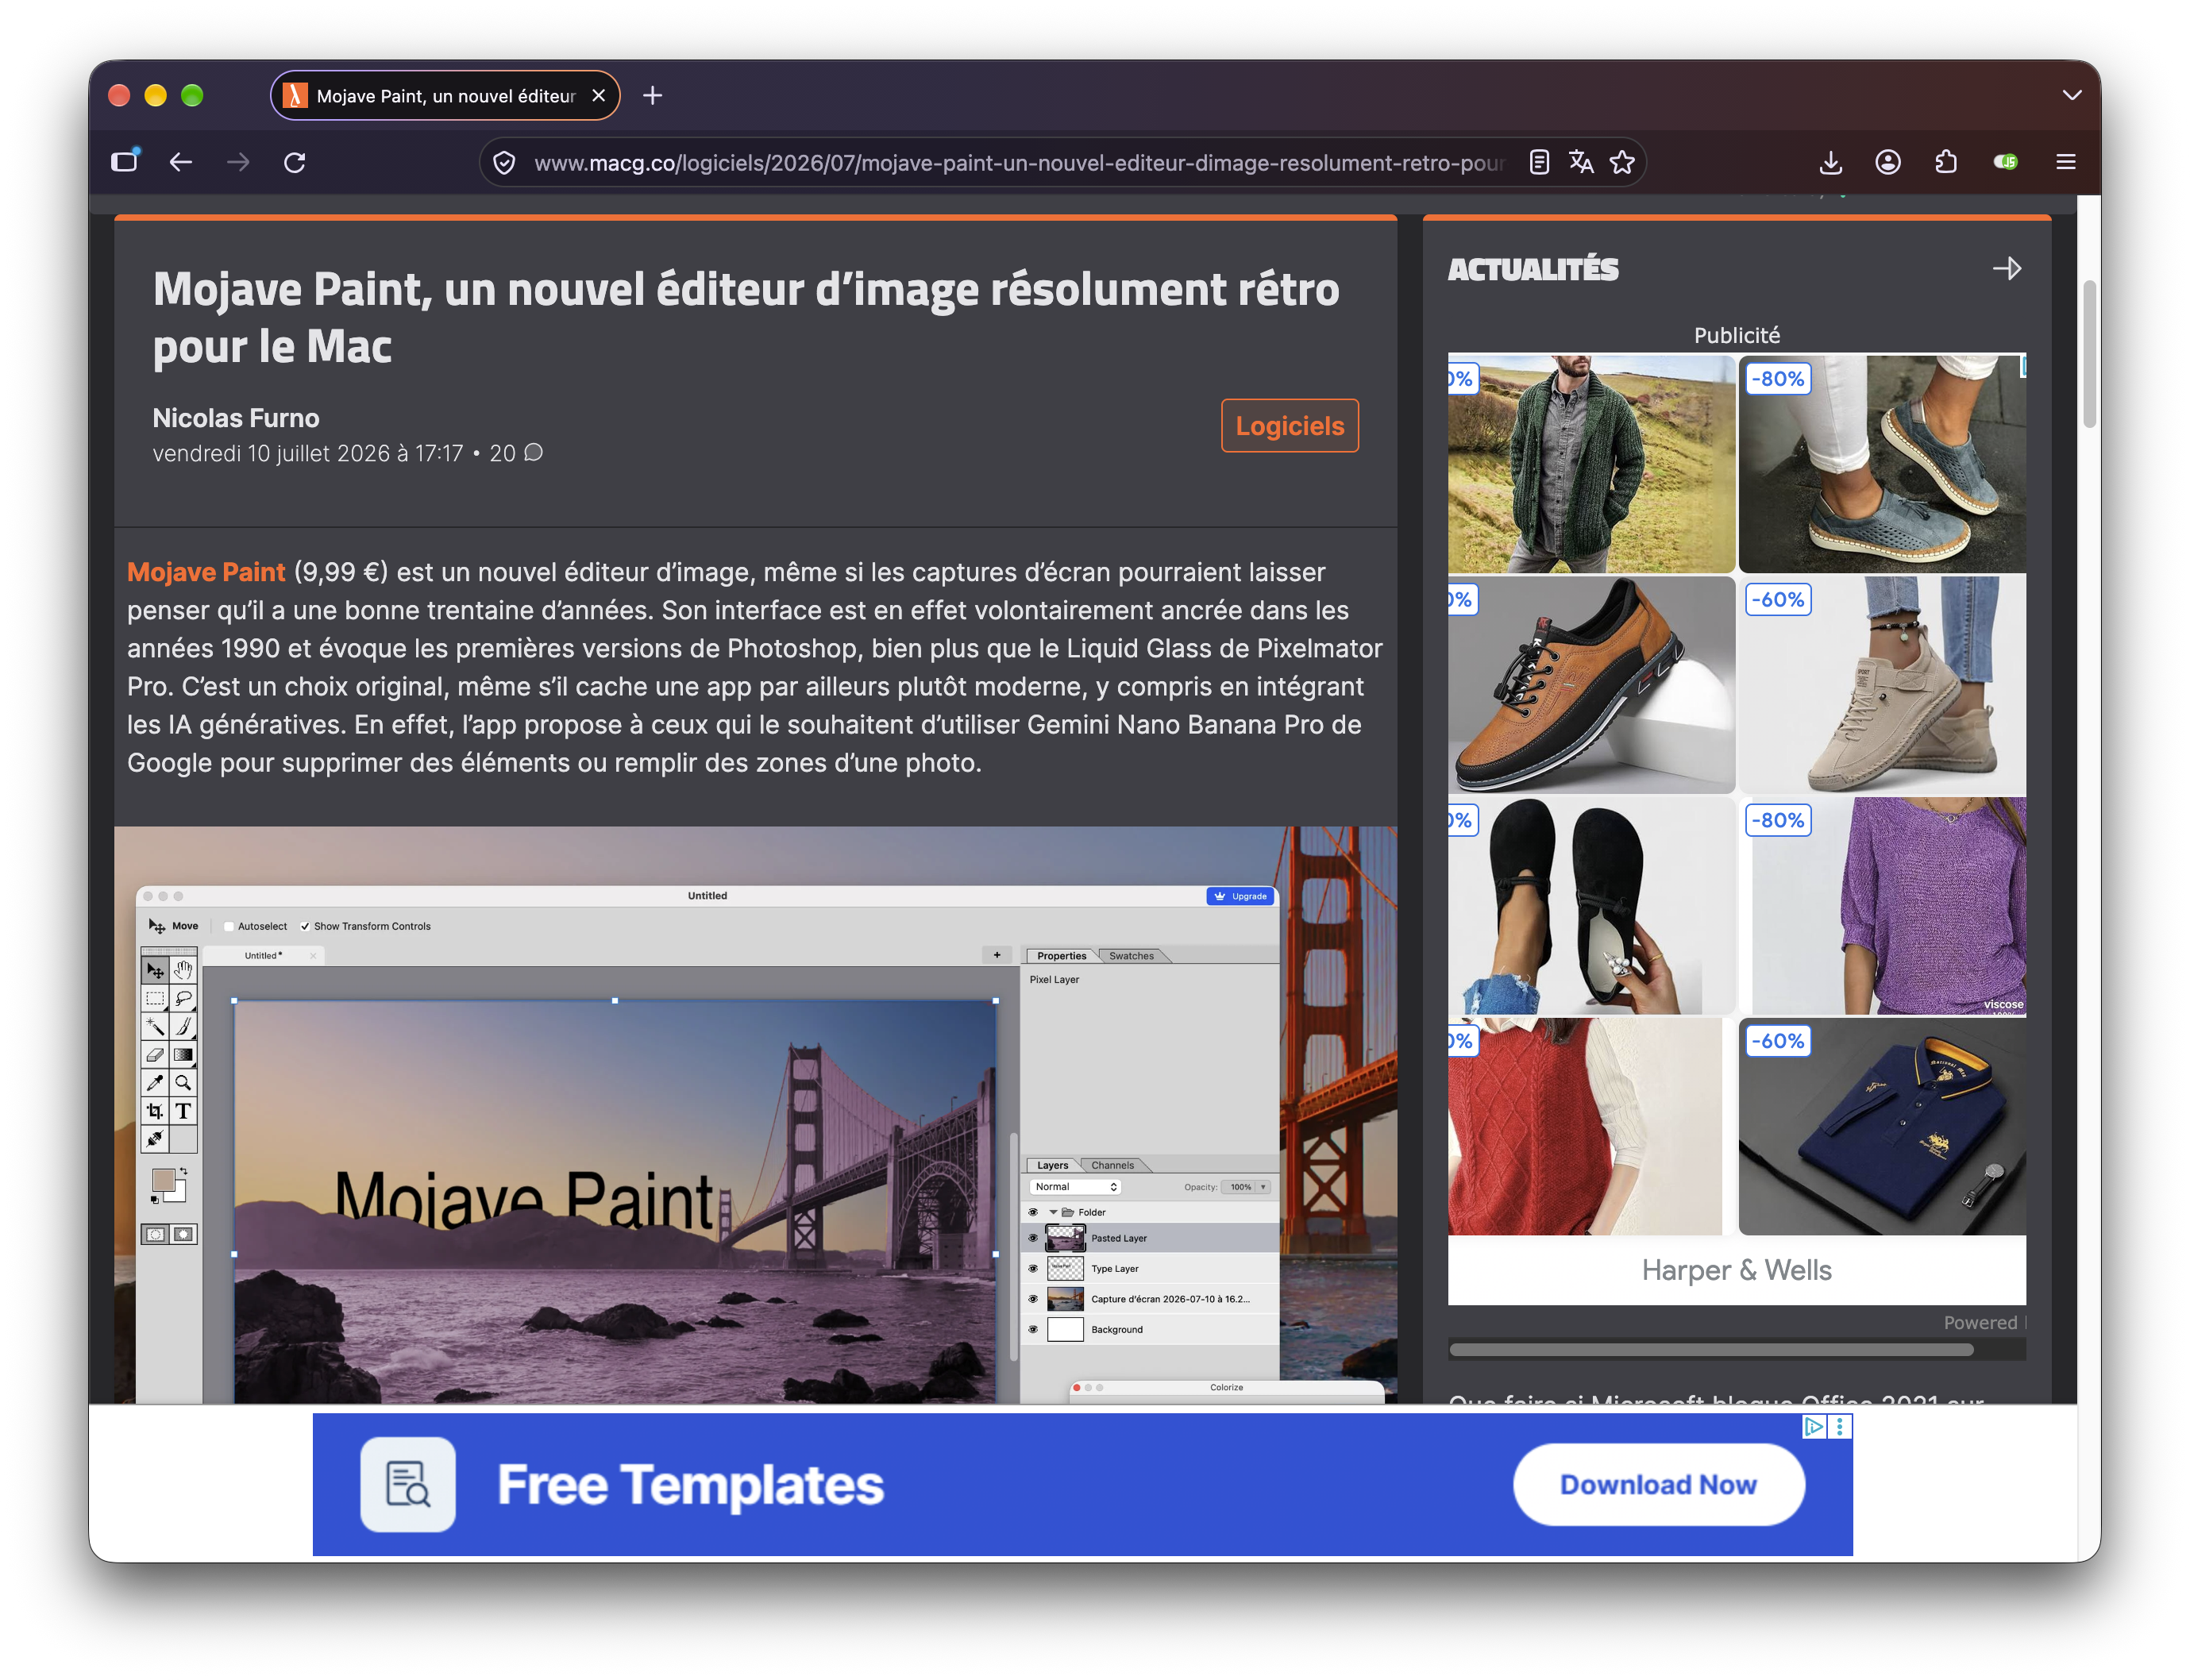
Mojave Paint, un nouvel éditeur d’image résolument rétro pour le Mac
Some of the comments in there are pretty brutal, one person saying "he invents what?" which, sure, at first blush it looks like another Photoshop rip off. Another commenter says "let the developer speak for himself here."
So I did try to post a comment in there but the forum software wasn't taking it, not sure why. Here's what I tried to post:
Developer of the app here... thanks for the write up Nicolas. Just wanted to post some corrections and updates.
The Nano Banana Pro integration is removed, Google was changing their APIs every week which got annoying and besides, this app isn't about AI at all. It was in there "just for fun" but it's an unneeded distraction.
A correction: I think you've always been able to edit the font of text you put in. Either via the Type tool options strip at the top of the window, or in the layer properties panel when you have a type layer selected. The type system is pretty sophisticated with leading and kerning and horizontal/vertical stretching if you want.
We've added a lot of new features in the last 3 months since this review, and dropped the price to $5. Maybe because of this article France is the second highest country of purchase after the US.
And finally the brutally direct comment which auto-translates to English "he invents what?" While a lot of the core concepts come from Photoshop and/or Affinity Photo, there's actually a lot of room to improve on those apps from a usability perspective. That's the real selling point of Mojave Paint. I have an old blog post called "Five Things Mojave Paint does better than Photoshop" but at this point I could do another one with 15 more items. https://mojavepaint.app/blog/vs-photoshop Mojave Paint just feels good to use, featuring keyboard shortcuts Photoshop is missing and gestures that work better and more logically in places.
Also, if I were to start translating this app French would be the first language I'd do, reach out if you're interested in being my translator. We could do some revenue split on any French copies sold up to some cap.
And that offer isn't just for readers of that blog. Anybody else who speaks French and English and is savvy with technical jargon, let's talk about partnering on translation.
https://mojavepaint.app/blog/macg-review
#macgeneration #mojavepaint #photoshop #french #type #another #thingsmojave #developer #english #bananapro
#rss #feeds #linksharing #qwibbit
What are those filters under "Other" for?
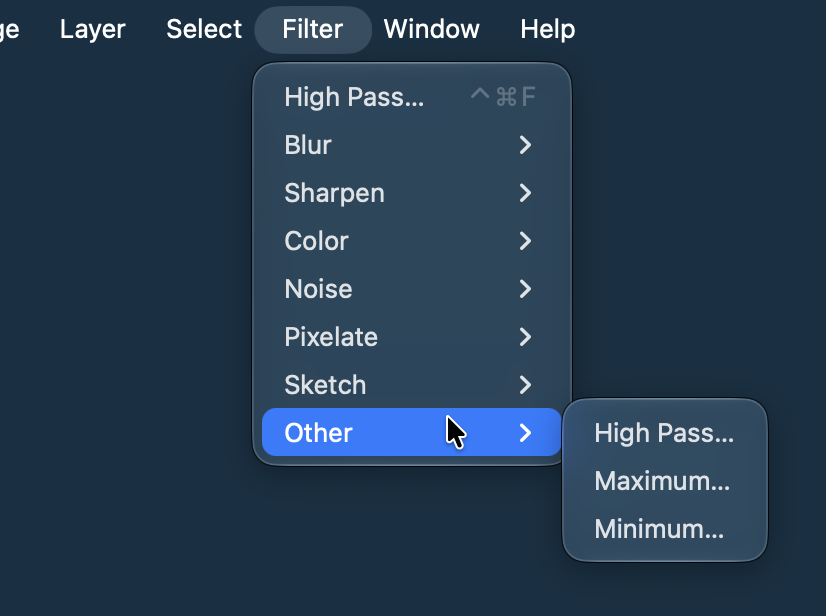
In the Filters menu you'll see an "Other" submenu that has High Pass and Minimum/Maximum filters. You might wonder what those are for.
Minimum
This one is commonly used to remove white fringes after cutting out a white background.
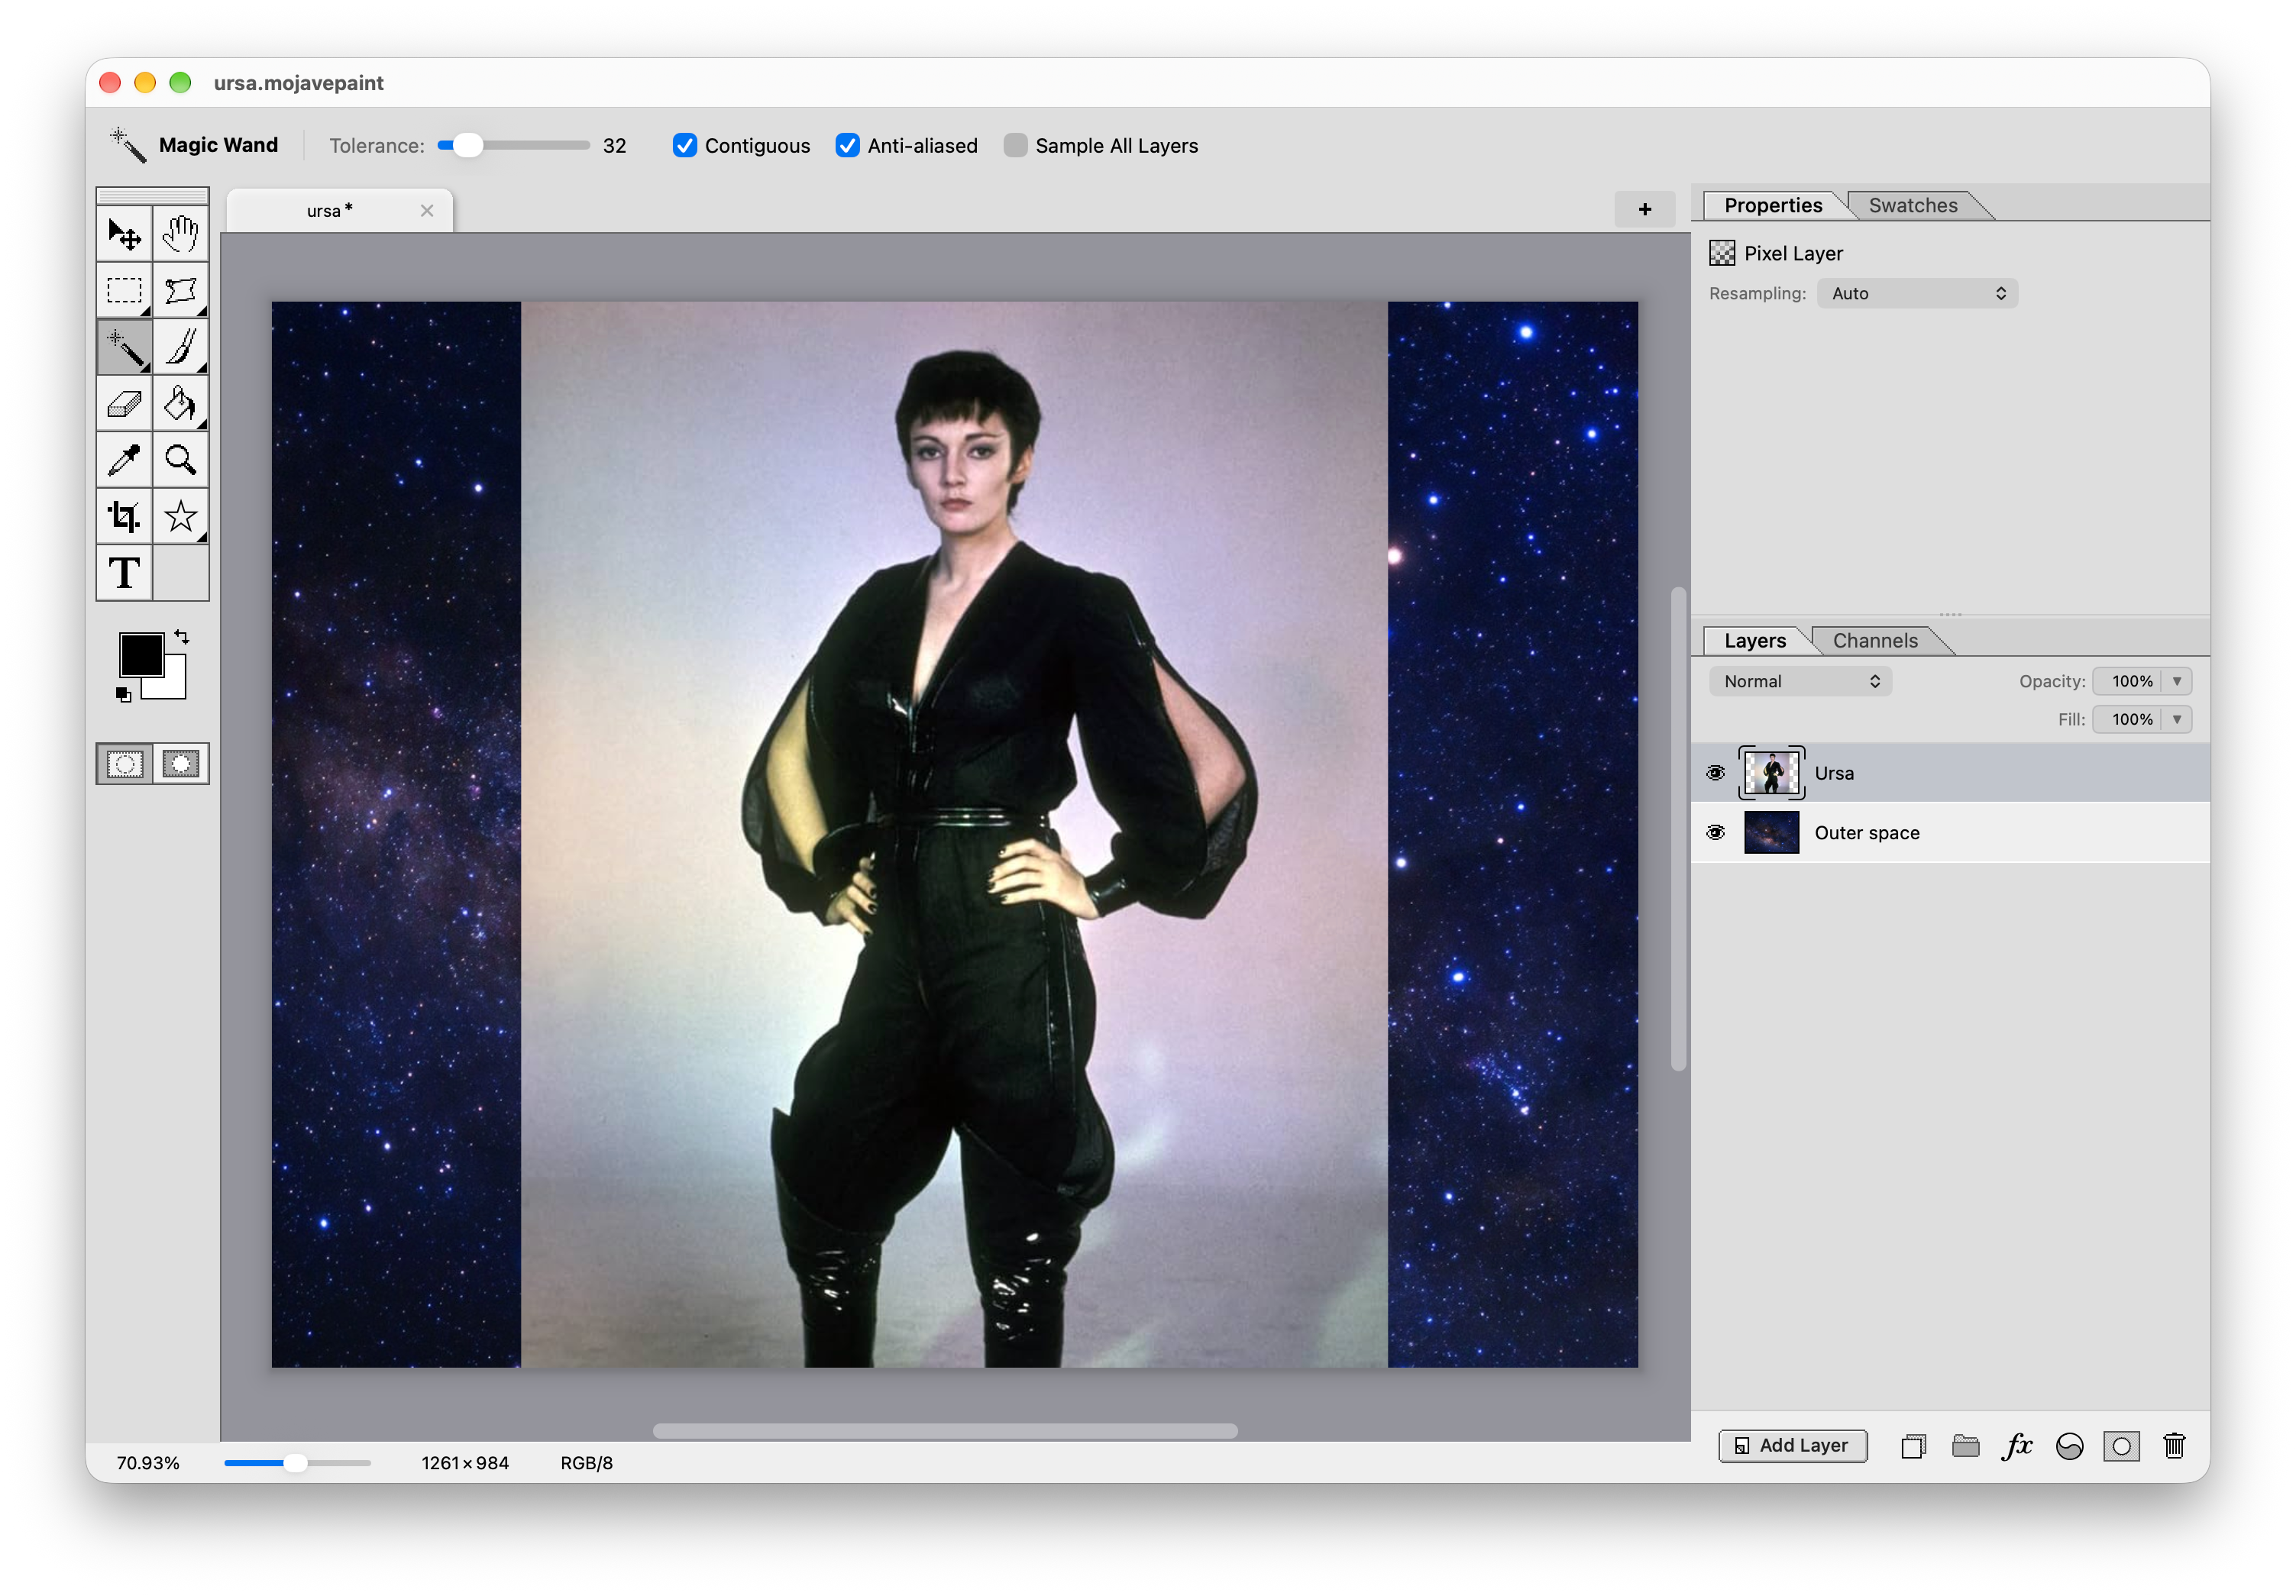
At the end of my clipping mask post you can see some of the Superman villains with the background cut out to show the outer space behind. But I did a crap job of it because the white fringe still shows.
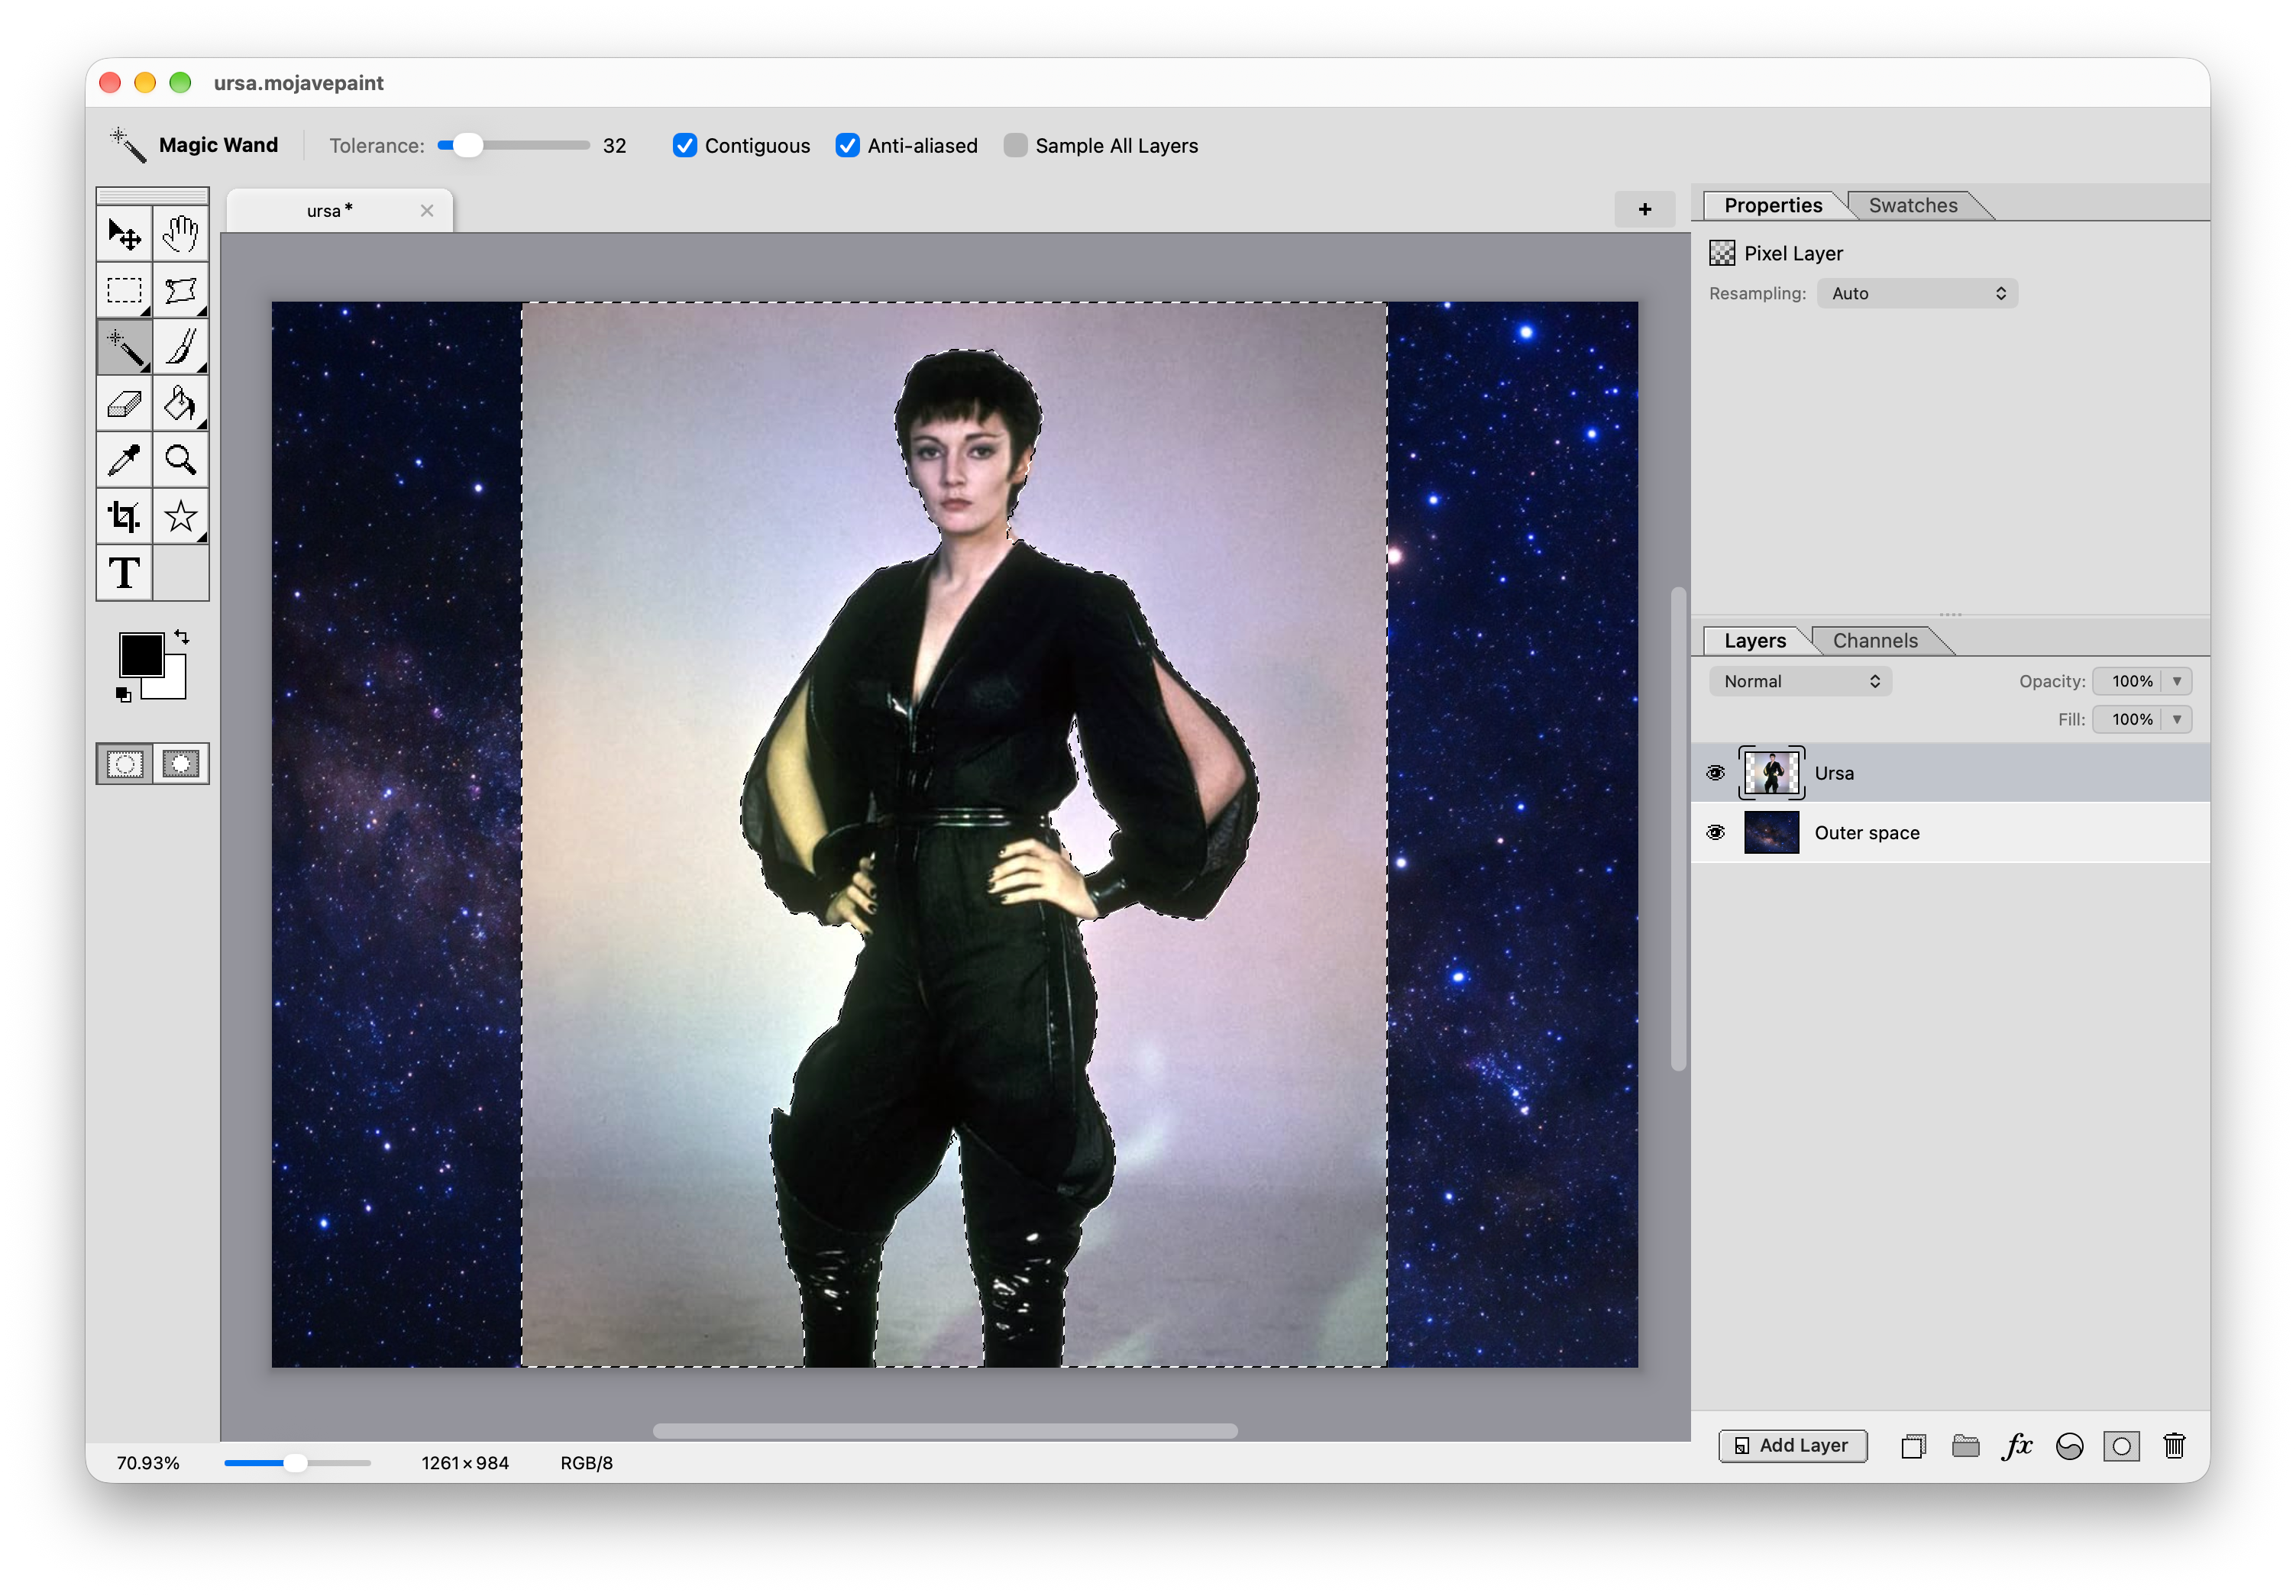
Let's clean up Ursa. Here's the progression using the magic wand to select the background parts, deleting those, then using Filter > Other > Minimum with a 1px size to remove that fringe. (Use the arrow keys to page through these screenshots.)
High Pass
This is typically used for sharpening, giving you a bit of a different result than you'd get with Unsharp Mask.
You duplicate the layer, filter with High Pass just enough to see the edges, then blend it down with Overlay or any of the contrast blend modes.
https://mojavepaint.app/blog/other-filters
#other #highpass #minimum #mask #unsharpmask #ursa
#rss #feeds #linksharing #qwibbit
#other
#highpass
#minimum
#mask
#unsharpmask
Mojave Paint (Unofficial)13d
What's new in 1.8.1
Here's some of my favorite improvements from today's 1.8.1 release.
Hue/Saturation/Lightness
Krisha from pcweenies.com pointed out that my Hue/Saturation adjustment is missing the expected Lightness slider. That's in there now, both in the adjustment window and in the Hue/Saturation adjustment layer properties.
"Show Transform Controls" keyboard toggle
When using the move tool I'm often flipping the transform controls on and off. There is a checkbox for that, but I thought why not also have a keyboard shortcut?
So I added one and honestly once you get used to it you'll wonder how you ever lived without it!
As for which key, I got to thinking about how you can use the backtick key with the Brush tool to momentarily activate the Clear function. Why not extend that key to just be a general purpose "momentary option" key? For Brush it'll be Clear (eraser), and for Move it'll be "Show Transform Controls." Maybe other tools can get respective momentary options as well.
And just to maximize the ergonomics, if you quickly tap the backtick key it'll flip the persisted checkbox setting for "Show Transform Controls." Here's a little video demo:
Double-click the Opacity and Fill slider labels
And on the ergonomics theme, you can now toggle Opacity and Fill between 100% and 0% by double-clicking their respective labels. This is good for bumping partial opacity back up to 100% in one easy gesture, but it's also great for turning fill down to 0% (which gets more common now that we have clipping masks).
Put these last two features in the "things Photoshop doesn't do" column, a column I'm always excited about adding to.
And that's not all we have in 1.8.1, see the release notes for all the deets.
https://mojavepaint.app/blog/1-8-1-highlights
#transformcontrols #showtransform #hue #lightnesskrisha #fill #opacity #brush #clear #move
#rss #feeds #linksharing #qwibbit
Mojave Paint will be $4.99 going forward
I've seen a pretty big uptick in sales on the Mac App Store since I temporarily dropped the price from $9.99 to $4.99 for that 512 Pixels ad campaign, which has me thinking about software pricing in general.
I was originally thinking $10 instead of $5 because what does $5 mean to anybody anyway? A Starbucks with tip might be $8, and that's every day. Mojave Paint is one time (or maybe more like once a year when I figure out how to have a limited period of software updates included.)
But then I got to thinking more about it. A Starbucks drink has facilities overhead, people milking cows, employees with health insurance, coffee beans that go through a rather involved process from raw pod to roasted bean. A lot goes into it! You're getting something real and physical for your $8.
Software like Mojave Paint, which has no real infrastructural component and runs on your own machine, has a marginal cost to me of nearly 0. But I have to charge something to pay myself for my time.
Here's what really cemented it in my mind… I keep an eye on r/macapps to see what people are building with a special interest in any photo or graphics apps, and a couple months ago someone posted about DrawSimple, no free trial but $5 in the Mac App Store. I bought it just to check it out. And I don't think I would have if it were $10. What's $5 to me, nothing really, but it is a psychological barrier for sure.
So, $4.99 one-time purchase, perhaps still with future sales of $2.99.
And as far as how to do a "buy once, use forever, but you get a limited duration of updates" model, like how Sublime Text does, I'm still thinking about that. It won't be easy to do in the Mac App Store. I have some ideas but that's another blog post.
https://mojavepaint.app/blog/updated-pricing
#mojavepaint #macapp #appstore #starbucks #pixels #sublimetext
#rss #feeds #linksharing #qwibbit
#mojavepaint
#macapp
#appstore
#starbucks
#pixels
Mojave Paint (Unofficial)19d
512 Pixels ad (and $4.99 sale price)
As Mojave Paint becomes more feature complete week-by-week it's time to focus more on marketing, and Mac enthusiast blogs have proven to be the most effective channel for that.
So check out my ad running this week on Stephen Hackett's 512pixels.net. He runs one of the better known Mac-focused blogs, he's been a guest on Gruber's podcast, and if you look at his about page you'll see some retro MacPaint-looking design that meshes well with Mojave Paint's 1990's-inspired aesthetic.
Mojave Paint is available in the Mac App Store as a free trial, which you can upgrade to the full version for a one-time purchase of: $9.99 $4.99 (for a limited time).
https://mojavepaint.app/blog/512-pixels
Mojave Paint (Unofficial)19d
Fill and Opacity
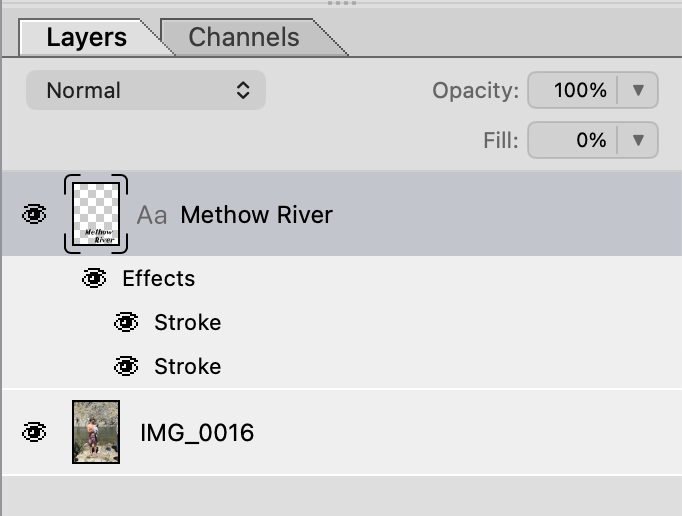
New in 1.7.5, layers have a Fill slider below the Opacity slider.
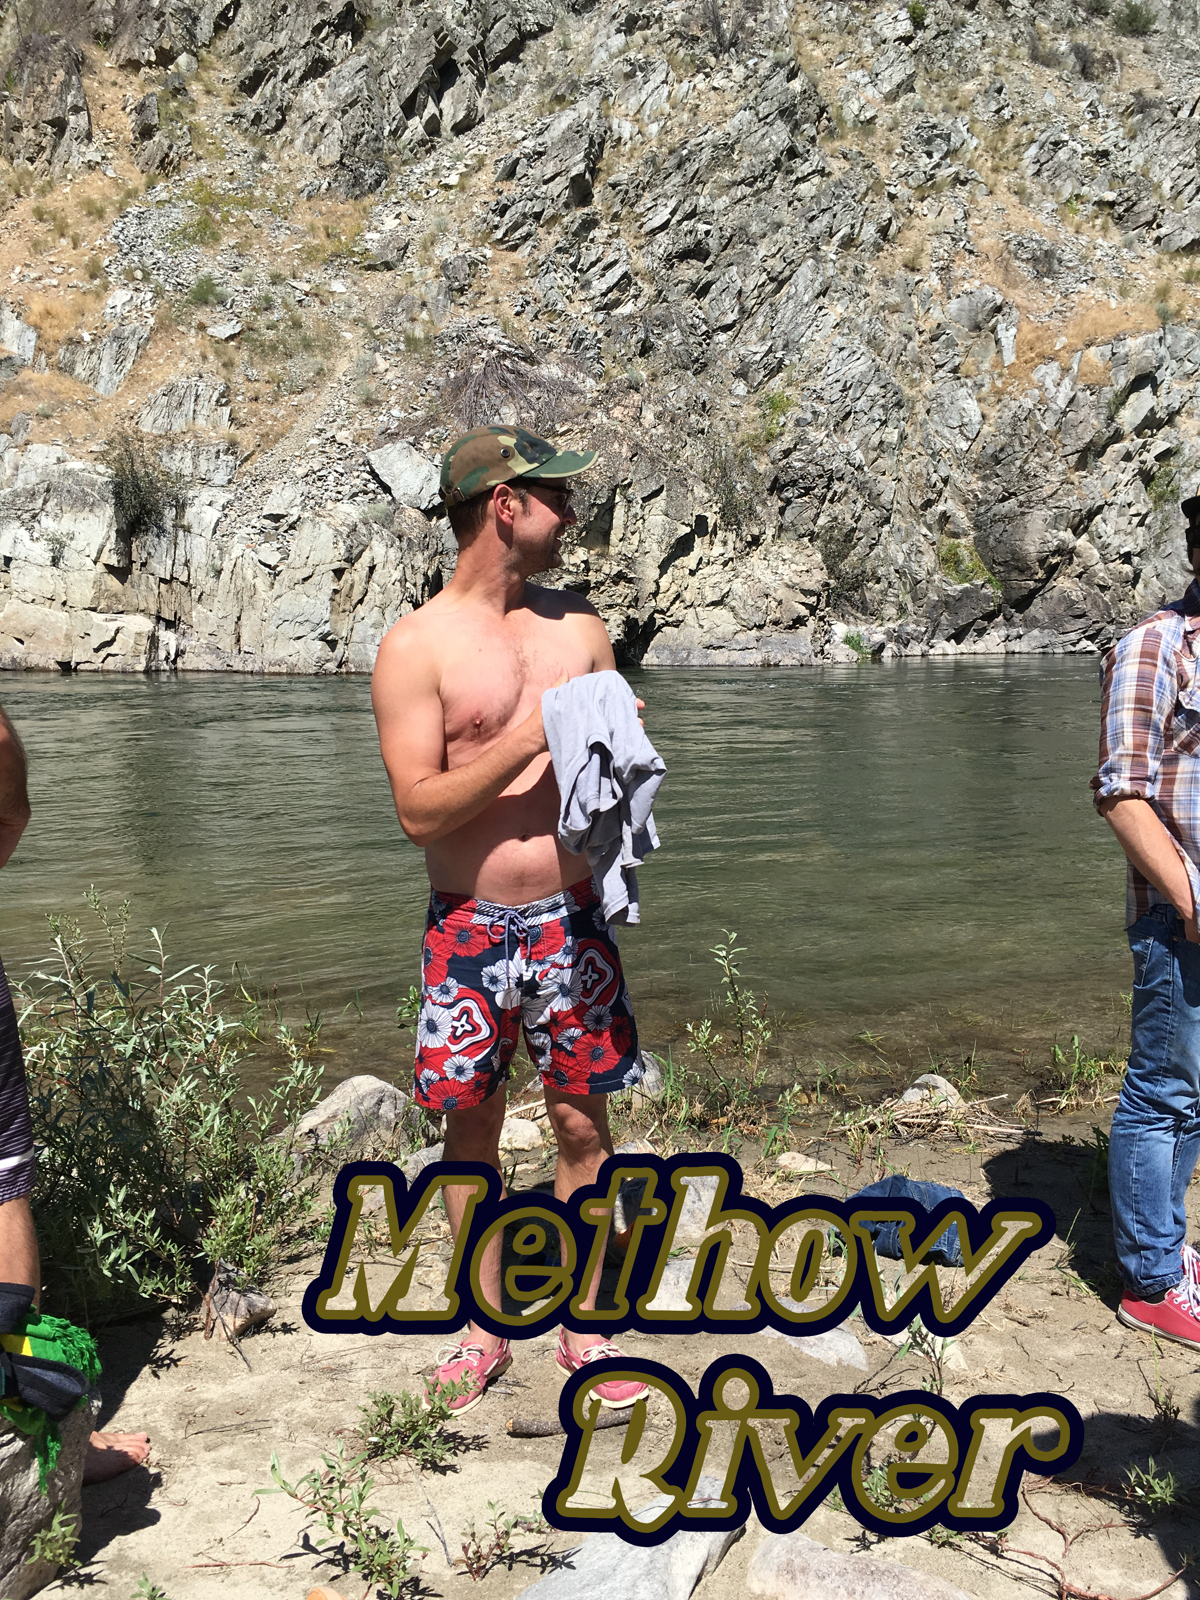
The main benefit is that you can blank out the layer content while keeping the layer styles on, for hollow text strokes and hollow outer glows like these:
Also, Fill operates differently on the "special 8" blend modes — Color Burn, Linear Burn, Color Dodge, Linear Dodge, Vivid Light, Linear Light, Hard Mix and Difference. You may have noticed using opacity with the Difference blend mode isn't terribly useful as it just cancels out to gray. Try using the Fill slider instead and notice the difference.
But the most important reason we added the Fill slider is still to come: clipping masks. More on that soon!
https://mojavepaint.app/blog/fill-slider
Welcome to Mojave Paint (Unofficial) spacestr profile!
About Me
Unofficial automated RSS/Atom links from the source Mojave Paint, covering sampled entries (Real Clipping Masks. Original creators are credited at the source; follow original links. Zaps support the independent feed operator, not the source creators.